Chapter 3 - Making and Installing Flap Valves
This organ has four sets of flap valves; one on the inlet to each feeder bellows, and one between each feeder and the reservoir. The outer ones are on removable panels on the feeder movable boards, and there are two bungs on the feeder to gain access to the inner ones. Still, it is a lot easier to put the inner ones on before the reservoir is recovered.
Aeolian used an arrangement that I have never seen before, to maintain tension and flatness in the flap valves. It is very clever, and can hold the leather strips flat to the boards with very little extra force. At 2-1/4" WC, but with feeders 5 times the volume of ordinary player piano feeders, one needs as small a pressure drop across the flap valves as possible, to keep the pumping effort down.
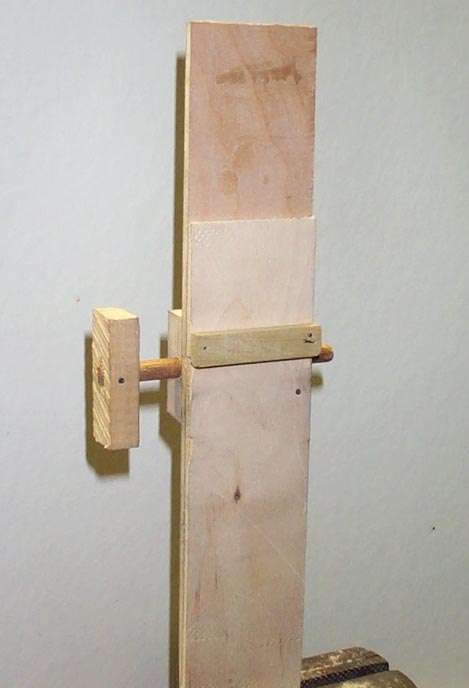
Cut the pieces from Leather Supply House thin flap valve leather, 3/4" inch longer than the six 12" x 2-1/4" and eight 9-1/2" x 2-1/4" pieces required. Remove the varnish from the areas to be glued.
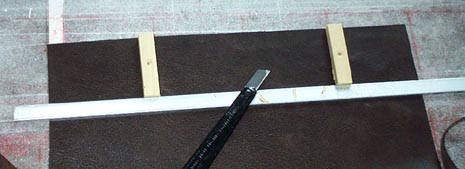
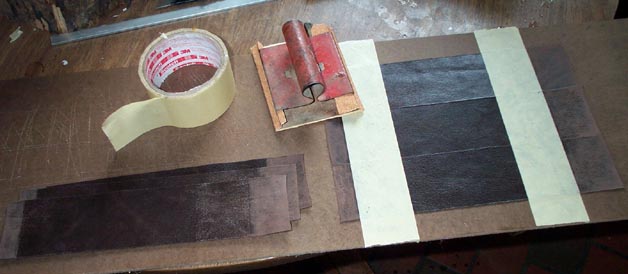
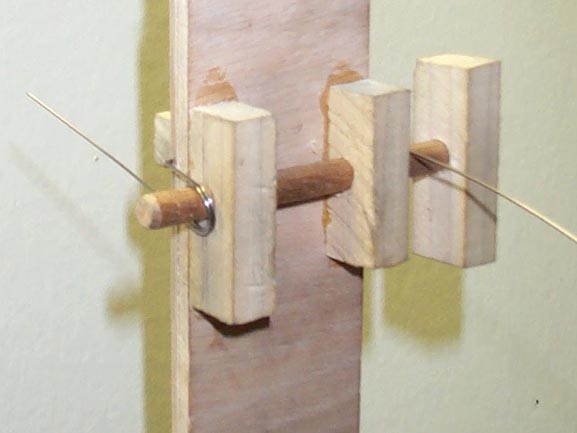
Fold and glue one end to form the hem, with the spring inside, and glue on a new wooden stick. The leather is stiff enough that the joint needs a little help to stay closed until the glue jells. The original strips were tacked to the board at the fixed end, but this is hard to do, and still keep the leather perfectly tight on both edges. Also, it would be hard to unhitch the strip later, if it were necessary to remove a bit of rubbish that might get trapped under the flap. So I followed the example of Ampico and other player makers, by attaching another stick to the fixed end, which will swivel around a screw in the middle. That way, the strip will be automatically self aligning. After the glue is well set so the stick won't shift, add tacks. Their heads must be driven well below the leather surface; this surface must slide very smoothly on the wood.
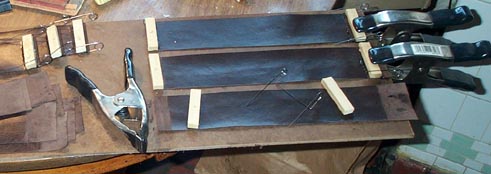
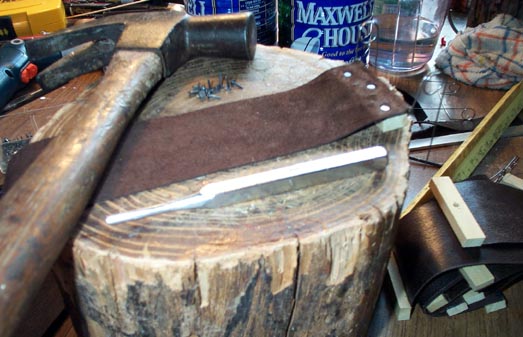
Finish by brushing the nap with a brass vegetable brush. This will make any bits of glue on the seat side show up, so they can be scraped off. Bend the springs so the four legs are parallel and square to the strip. Mix a little graphite with a few drops of alcohol and paint this on the underside of the moving end. When dry, burnish this surface on the flat center of a dinner plate.
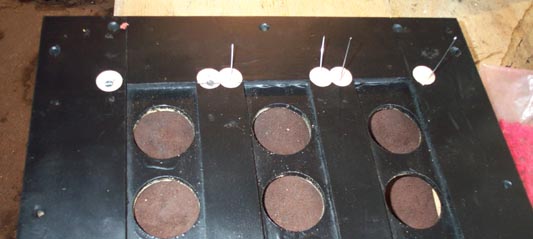
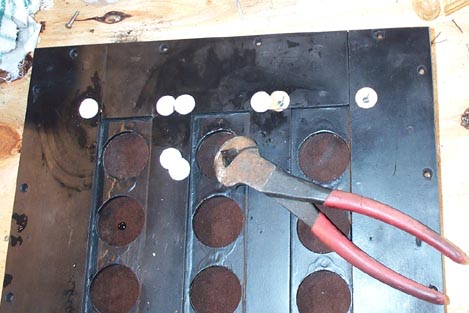
Using a wire in the pin vice as a drill, make the holes for the spring legs, if they are not already there. (Ignore the odd appearance of this feeder valve panel; I had to make all new valve seat boards because the old ones had been abused in the past. More about this in the wind supply reconstruction chapter later.) These holes are about 1/8" beyond the strip edges; 2-1/2" apart for the 2-1/4" wide strips. Insert the wires until the strip just touches the panel.
Make marks on the board 2-1/4" apart, centered on the lowest hole, to locate the fixed end laterally. Position the fixed end, and stretch the springs only about 1/8"; not much tension is needed, and it can be increased later if necessary. Mark the screw hole with an awl, and attach with a #4 x 3/4 RH screw and organ punching. Tighten the screw, with the fixed end stick crooked, then loosen it until the tension just pulls it straight.
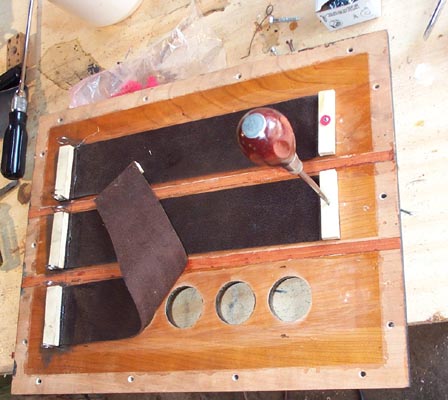
The builder just drove the ends of the wires into the wood. I don't know how they did that; they must have had some magic tool that grabbed a wire from the side and pushed it hard into wood, considering the almost 500 pallet springs there are in the organ. But I don't have one, so I made the wires long, and pushed them all the way through. Then, holding the wire loop so that the moving block is just touching the panel, bend down the protruding end of the wire to hold it in place. Don't worry, the flap can be adjusted later at checkout. Bending the fixed leg of the loop will move the block closer or farther from the board; bending the moving end of the loop will adjust the tension. I finished by fixing the spring tightly from the rear with a small screw, clipping off the excess wire, and covering its hole (and its sharp end) with a thick deerskin punching.
