Chapter 17.3 - Assembling and Testing the Primary
NOTE: AFTER THE ORGAN WAS MECHANICALLY COMPLETE, FURTHER WORK WAS FOUND TO BE NEEDED, TO REFINE THE PRIMARY FUNCTION TO GET PROPER RESPONSE. PLEASE REFER TO CHAPTER 27, FOR A DESCRIPTION OF THIS ADDITIONAL WORK.
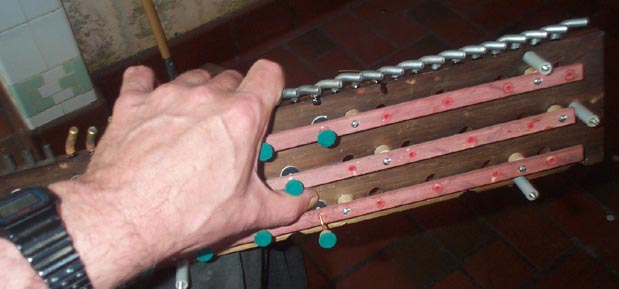
Not many pictures in this chapter, since many of the activities described take two hands. Assembling the valve disks and stemwires on the valve board took a while to master, but as usual, Aeolian had some clever ideas to make it easier. The reduced, smooth end of the stem wire easily stabs into the punched hole in the disk, and enables the threaded part of the wire to engage the disk with the valve flat against the board. First, working from the bottom, put a disk over the lower end of the hole, and stab in a stem. Holding the disk flat against the board, turn the button until the wire is partly threaded into the disk.

Then, insert the top valve over the hole in the top sid of the board, and poke the stem point through it.
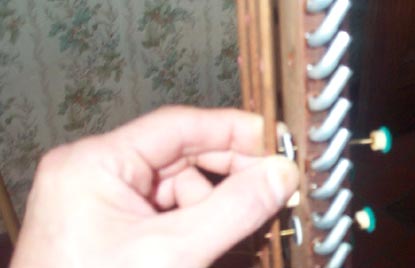
While holding the top disk flat, keep turning the stem. Friction between the bottom disk and the board holds it from turning while the stem continues to thread its way through, and begins to engage the upper disk.
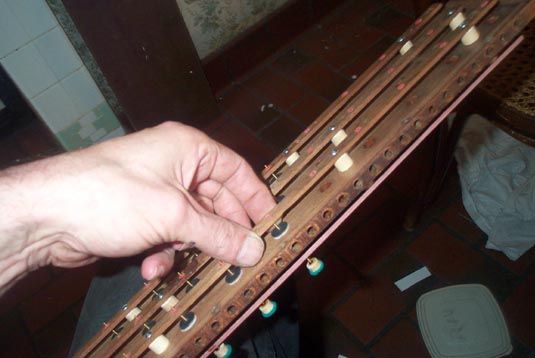
One end up with the two disks screwed to the wire, and flat to the board, with no gap. Now for the tedious part. Assemble the pouch board to the valve board. I had to make new spacer posts from McMaster-Carr 5/16" x 3/16" fiber tube, to replace the old ones that were lost. Using a mouth tube, test the action of each valve and adjust it individually. For quick response, the button must start as deep into the pouch dip as possible, but not so deep that the pouch at rest holds the upper valve away from its seat. Otherwise the valve will "simmer", like a badly adjusted player piano valve, and create a constant leak. I found that positioning the valve so that there was just barely a 1/16" space between the bottom of the follower pad, and the cardboard follower disk on the pouch, served this purpose. Then the lower seat was screwed down so as to leave a bare 1/16" valve gap when the valve lifts. The disks can be moved up or down on their stems by holding the stem from turning with a long nose pliers, and turning the disks by reaching in and tickling their edges with a small screwdriver. This takes a strong light, especially for the valves in the middle row. A a final test, the pouch is repeatedly inflated with the breath, and vented. A valve that works right will make a small but audible thwack as it both opens and closes. If the valve is too low, and resting partly on the empty pouch, it does not make a snappy sound as it closes.
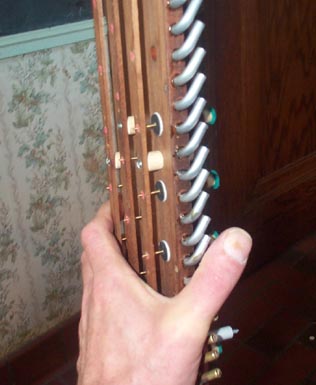
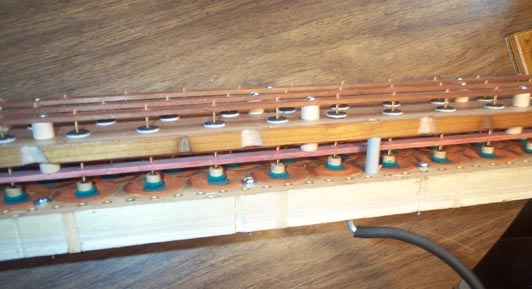
Then the assembly is installed, first without the wind box, so the valve motion can be observed. Using the keyboard, each note is played, and the valve is seen to rise and fall.
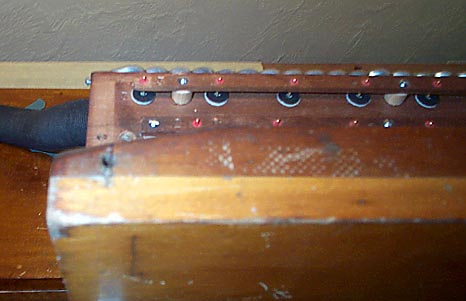
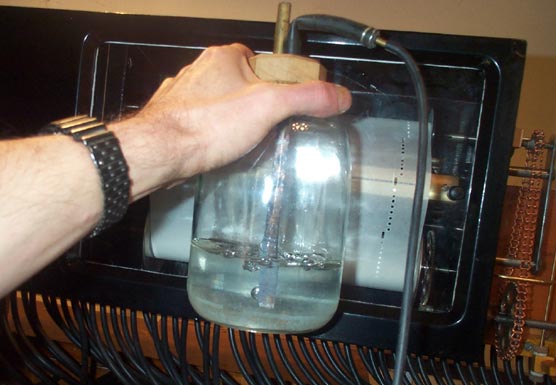
Then the wind box is installed and connected, and the test roll is run several times to "seat in" the valves. The bubble jar is connected to each primary output, and the note is played with both the keyboard and the test roll. A steady stream of bubbles shows that each valve is opening properly. Of course this can not reveal a leak if the valve is simmering, since any pressure caused by such a leak is dissipated through the partly opened lower seat. The only thing I could think of was to stick an ear tube into the array of valves from behind, and listen for leak around the lower seat. A few of these were found, so I had to take the wind box off and fix them. A this point, it was a matter of a few upper disks being very slightly crooked on the stems, rather than being in the wrong place. At 2.25 inWC, there is very little pneumatic force to flatten the valve disk against their seats, if they are not pretty flat to the board to start with.
