Chapter 19.1 - Preparing the Windchests, Introduction
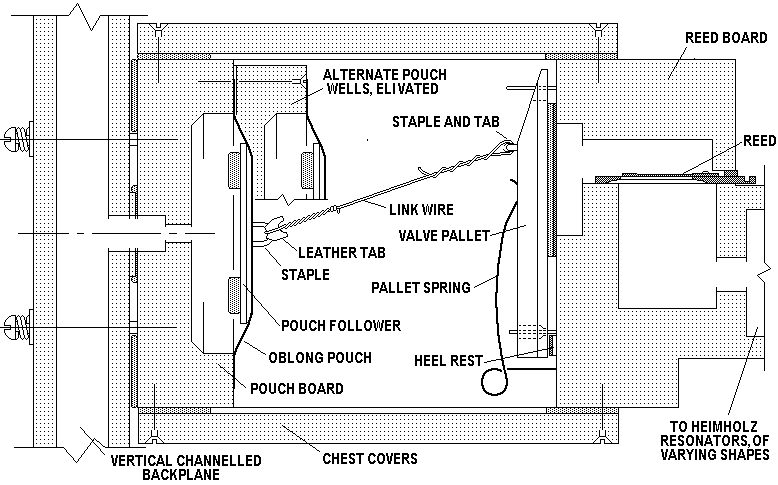
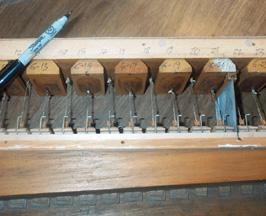
Now I am at the point which is known in engineering circles as "Nut cutting time". That time in any enterprise when one gets to the heart of the matter. In this case, that is the six reed windchests, and all the pouches and valves that make up these. All that went before was prologue; here is the essential part that makes the music. This is a cross section. done to scale, of a typical windchest. All the chests are alike, with three exceptions. The configuration of the reed cells, and the associated Helmholz resonators differs for each different rank, according to the size of the reeds and their voices. The Violin rank has two rows of reeds, and no Helmholz resonators. Some of the ranks are as shown, with the pallets "hinged" at the bottom; others are "upside down", with the pallets hinged at the top, depending on how the reed cells happen to be drilled. Otherwise, the valve chest part of each rank is symmetrical around the horizontal centerline.
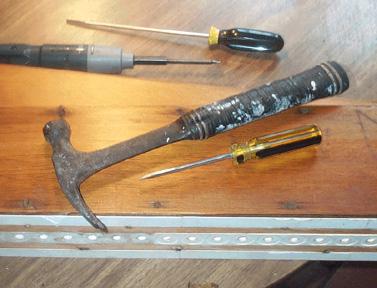
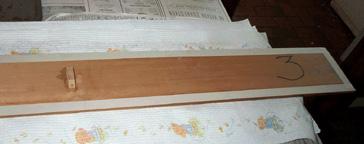
All the parts seem to be interchangeable, and template drilled so as to be accurately dimensioned. But just in case there are minor dimensional differences between the ranks, the first step is to piece-mark each separable part before disassembly. Then the top and bottom lids are removed. The screws on the upper lids were rusted, so a freshly sharpened screwdriver is used, so one can hammer the blade into the slot crosswise, so as to get a good, tight fit.
Before an further disassembly is done, it is important to study how everything goes together. The most important aspect of this is how tight to make the link wires (#26 double-cotton covered pipe organ hookup wire), when reassembling the chest. Too tight, and the pallets will be held away from the seats, and simmer. Too loose, and the relatively short pouch stroke will not open the valve enough, and the wire loop ends will slip off their leather pad tabs on the staples. There must have been an easy way for the assemblers to get this right originally. I discovered that if the pallet is lifted off its top pin, and pressed against the seat board at one side of its pin, cocked off at an angle, the the wire is stretched tight, pulling the pouch taut. When the pallet is on back on its pins correctly, the wire is then just a bit loose, allowing the pallet to fully close. The removable pouch cups are probably interchangeable, but just in case, they are piece-marked.
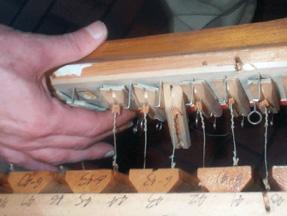
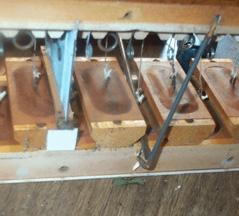
Note the square of zinc in the middle of the rank, to divide the chest into the bass and treble sections. In the middle of the chest, there are two big iron staples. Apparently these maintain the proper distance between the pouch board and the reed board while the wires are being hitched up; otherwise the flexible pouch board would be gradually flexed inward as more and more wires are connected. Then the last wires attached would end up too short. Using a screwdriver from the opposite side, the ends of these staples are driven out of their holes. Then all the link wire are cut, and the pouch board is separated from the reed/valve board by unscrewing the end panels. The pallets springs are carefully swung to one side, trying not to bend them. Big screw eyes, installed to prevent the pallets from popping off the lower guide pins, are turned 90 degrees, and the pallets are lifted off. The alternate pouch cups are unscrewed from the pouch board, and all the pouches are ripped off, and saved.
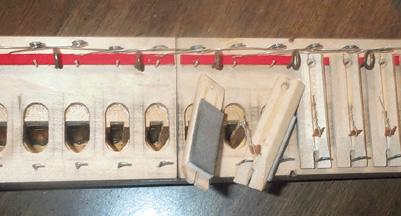
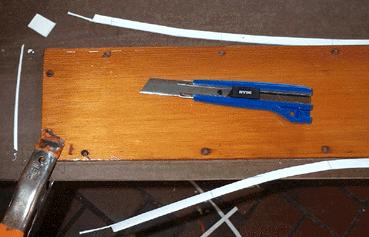
One ends up with a huge amount of loose parts. Luckily, I have saved coffee cans for years.

While I was about it, I fixed up the 12 chest lids. The old gaskets were ripped off, and the glue carefully washed off. The gluing areas were masked, and a coat of fresh orange shellac was applied. All the lids are alike, but not interchangeable. The upper lid can be distinguished by its having a label listing all the patents. Each lid has a little hardwood truss located near the place where the chest dividing plate touches. This must have been to prevent the thin lid from bowing out in the middle, and loosing gasket contact with the plate. These were broken off, and reattached with fresh glue and new screws.
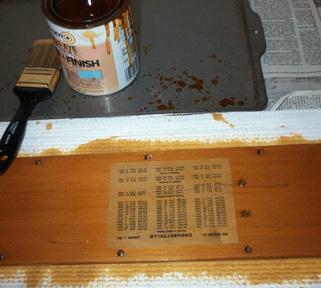
The gaskets used on these lids are thick, soft blotting paper, not leather. A very extensive net search failed to find any supplier in the USA who could furnish this, except as a special "carload lot" order. I finally found such paper at a fine art and conservation supply house in England:
Conservation By Design Limited
Timecare Works, 5 Singer Way
Woburn Road Industrial Estate
KEMPSTON, BEDFORD MK42 7AW
info@conservation-by-design.co.uk
Their item XHB600 is approximately 3/32" thick in sheets 40 x 30 in, available in packs of 10 sheets at £ 30.00 per pack The damn freight foam England was more than the paper. If anyone knows a domestic source for thick blotting paper, let me know!
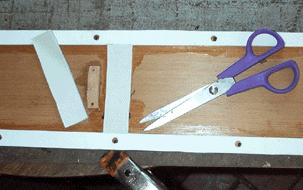
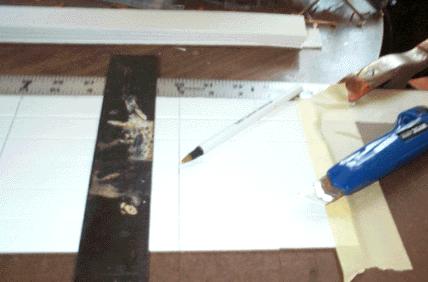
Throughout the organ, such paper gaskets are trimmed about 3/4" wide, so I needed one inch strips. I took the two bundles I bought to a local print shop, where I had them cut the bundles into 1" x 36" strips with their big hydraulic cutter.
Unlike leather strip gaskets, paper strips will not stretch or shrink by pushing around in the hot glue. Where one first puts the paper sown on the hot glue is where it stays, with no latitude for adjustment. So the pieces have to be cut to size and accurately punched beforehand. Luckily the drilling pattern for all the lids are the same, and symmetrical. So it was possible to put several strips on the cutting board together, mark for the holes with a ruler and square, cut to the untrimmed length, and punched. 48 lengthwise pieces and 24 end pieces, plus spares for the ones that get messed up, are required.
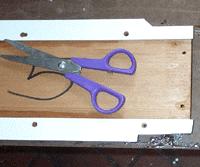
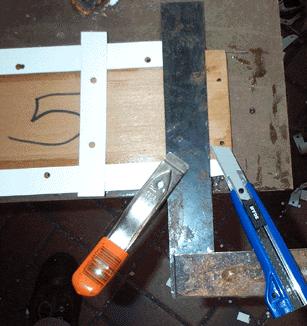
First the four side pieces are glued on, except for the areas near the ends. Then the ends of the strips are trimmed as shown, and then the cut line where the end pieces will be butted is accurately made with a square. All the places where the gasket pieces form butt joints must be squarely and cleanly cut, since the paper joints won't "scrunch up" tight, unlike leather ones.
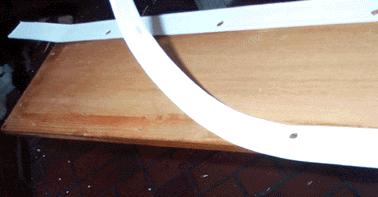
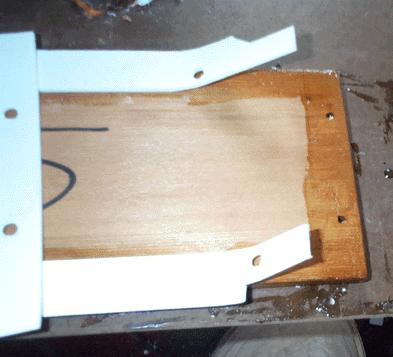
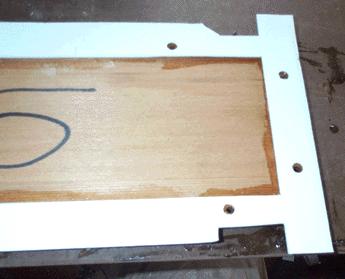
Then the end areas are glued, and the end pieces attached. After the glue is fully dried, the excess is trimmed off.
Following the original design, the strip of gasket that seals to the rank dividing plate is made of soft, thick deerskin, not paper. It has to be accurately cut to length so as to butt tightly with the side gasket strips.