Chapter 19.6 - Making the Link-Wire Staples
The link wires connecting the valve pallets and the pouch followers were attached with machine driven staples. The staples had little leather tabs, to prevent noise and binding, where the wires were looped around the staples. Two different forms of the tab were used. For the attachment to the pallet, the loop was fairly loose. The wire was just pushed through the staple and the free end was looped around the wire a couple of times during final assembly. At this end, the wire had to be free to rotate at right angles to the plane of the staple. This tab was made out of thin pouch leather. For the attachment to the pouch, the loop was twisted tighter, and the wire had to be free to rotate in a plane parallel to the plane of the staple. This tab was made of comparatively thick kidskin.
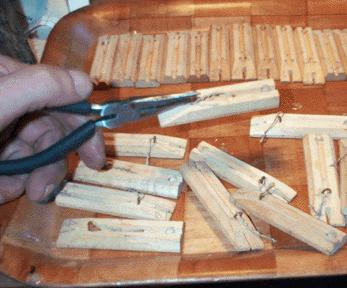
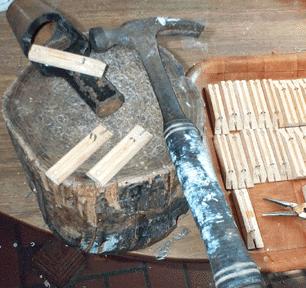
At first I contemplated reusing the old staples and tabs, but when I got to working on them, the old leather proved to be crumbly, and the staples were rusted by the tannic acid of the leather. So I decided to pull out all the old staples, and start over. An exhaustive net search revealed that round top staples of the required dimension were no longer available, so the first step was making reproductions of the original.
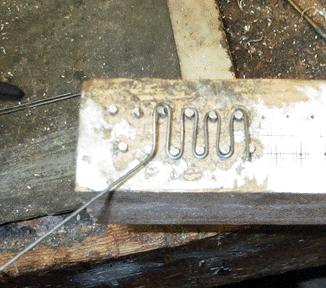
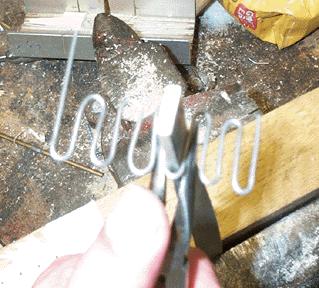
McMaster-Carr Item 6532K27 - Black Finish Soft-Temper Carbon Steel Wire, 16 AWG, 0.054" dia., in a bundle of 100 twelve inch lengths, proved to be an exact match for the original metal. The wires were bent on a template; the loops were straightened with a pliers around a piece of 1/8" barstock; and cut apart into individual staples.
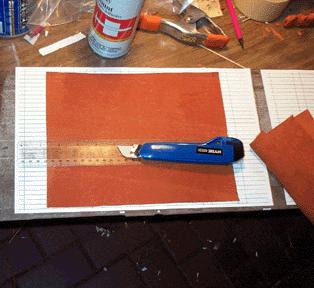
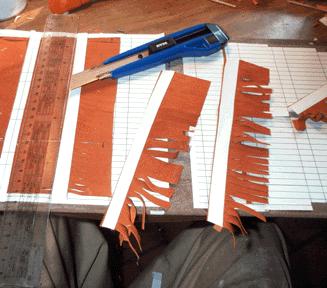
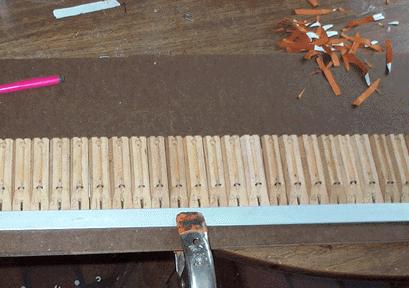
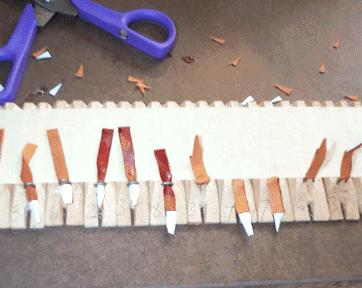
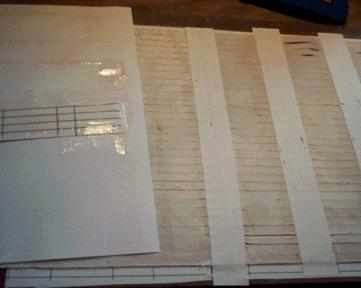
For the pallet ends, the tabs were attached after the staples were driven into the sticks. First a paper template with 1/4" parallel lines was made on Visio, stuck down to a cutting board, and made sticky on the surface with Spraymount. The hide was stuck down, and cut into 1/4" strips. Then 1/2" strips of paper were glued on the cut strips of leather as shown, and then unstuck from the template.
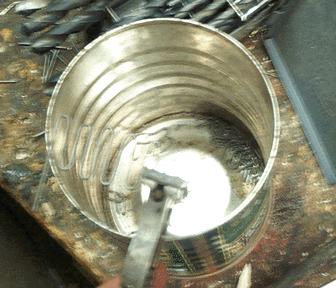
The old staples were pulled out of the pallets, and new ones were driven in their place. The punch handle acted as an anvil, to limit the staple so it wouldn't protrude from the valve face of the pallet.
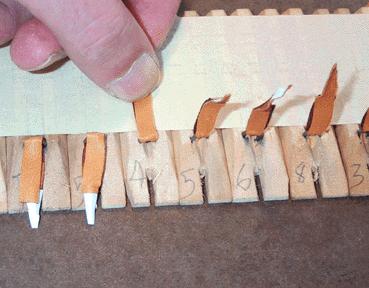
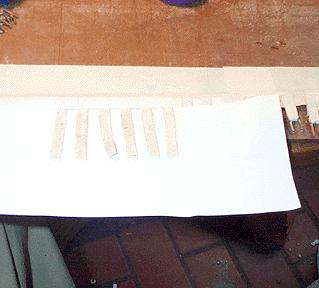
The pallets were lined up on a sticky board, and masking tape applied to cover up the part of the pallet that was to be glued. The tabs were cut apart, leaving the end stiffened with the paper in a point, to make it easy to thread it through the loop.
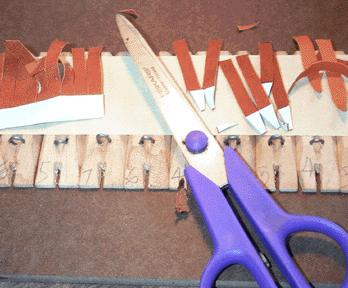
Working six at a time, the tabs were threaded through the loop. A scrap of paper was place under the ends, and hot glue was brushed on the tabs. The paper with the excess glue was puled out. The glued tabs were pulled back half way, and folded closed. It proved to be important to pull the tab tight horizontally, so the leather stretched along the whole length of the arc of the staple. If one pulls the loop up vertically, a wrinkle forms where the leather goes around the top of the staple.
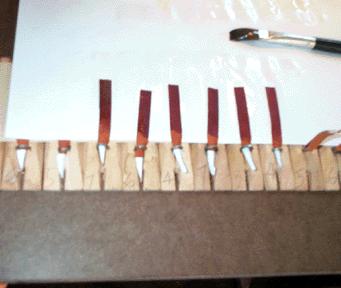
When the glue is dry, the tab is folded in two along its length, and cut at an angle to form the V-shaped notch. Something like how a decorative notch is cut in the end of a package ribbon.
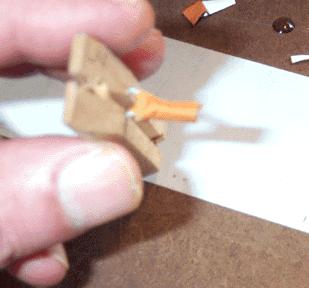
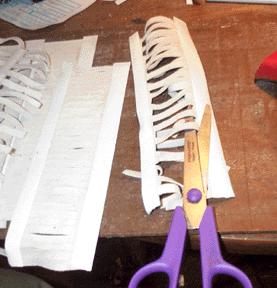
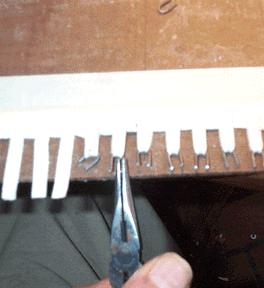
For the staple on the pouches, I decided to put the tab on the staple first, before driving it into the pouch follower. I didn't want to be messing around with hot glue anywhere near the completed pouches. Leather Supply House Item CGK, 1 oz., .016 Goat-Kid was used here. With the same template, the hide was cut in 1/4" strips and reinforced with paper as before. But here the strips were cut apart differently, to form comb like arrays of tabs.
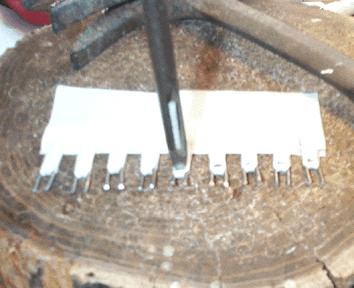
The strips were taped to a board. Working six at a time, the tabs were glued as before. Holding the staple at an angle, the glued tab were folded closed. After the glue gelled for a minute, the staples were pulled parallel to the strips with the pliers, to form the smooth, rounded arc of leather around the rounded top of the staple.
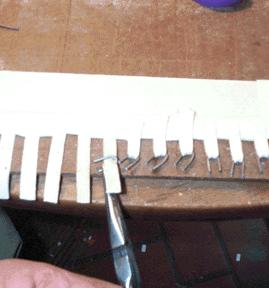
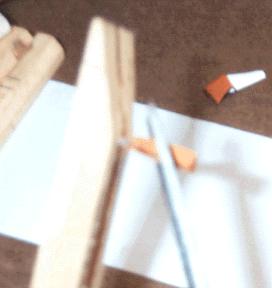
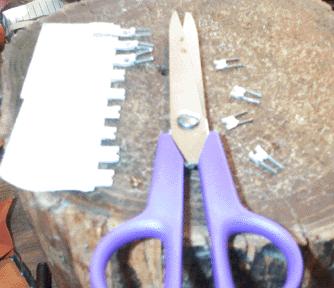
Finally the dried strips were punched with a 1/8" hole, and then cut apart through the punched hole, to form the half-circular notch in the tab.
I hate to take so much bandwidth for such a seemingly trivial detail, but it had to be done. It was somewhat tedious, making 696 staples, and 348 of each kind of tab, plus a lot of extras to make up the ones I messed up. Even with some kind of special tooling, and pneumatic staplers, it must have been tedious work for Aeolian. I often feel sorry for the poor immigrant girls who toiled day after day for 12-1/2 cents an hour, in Garwood, NJ, doing all the thousands of things needed to build an Orchestrelle.