Chapter 2.4 - Recovering the Stop Chest Pulldowns
This part of the stop chest work is straightforward pneumatic covering, familiar to any player rebuilder. However, I include it for completeness of the record. The photos are largely self explanatory.
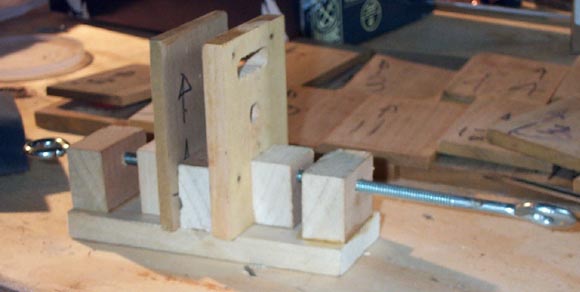
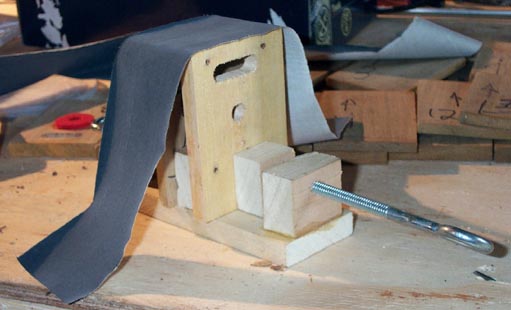
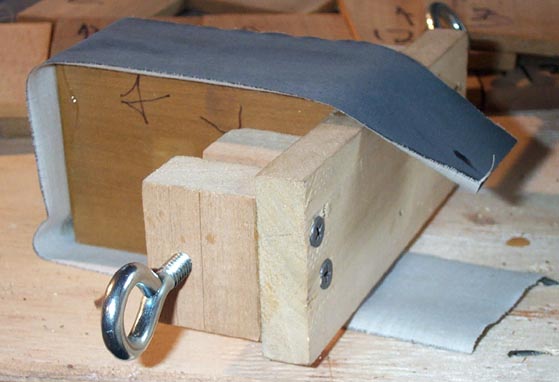
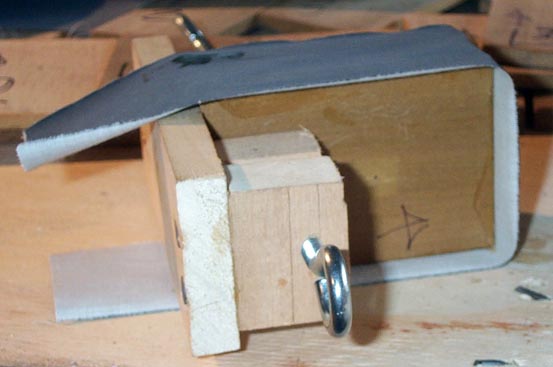
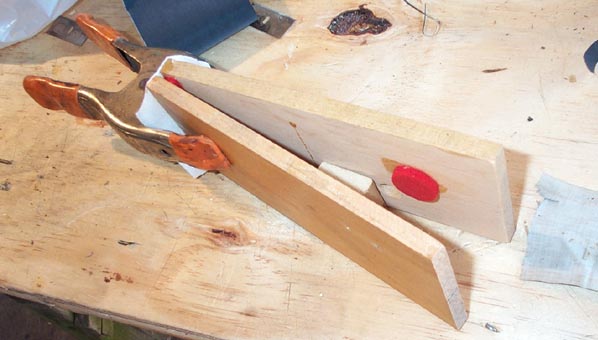
Here is a rig to hold the leaves of the square pulldowns parallel and at the correct gap, 3/4" as measured from the old cloth.
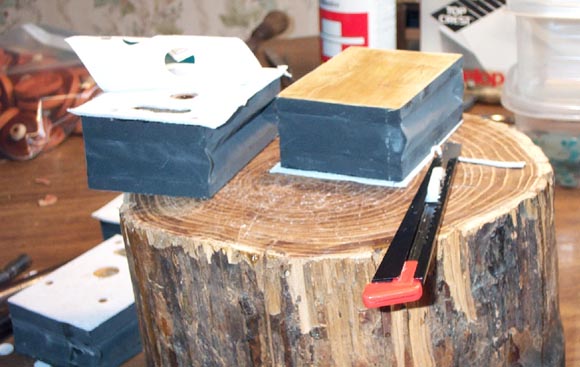
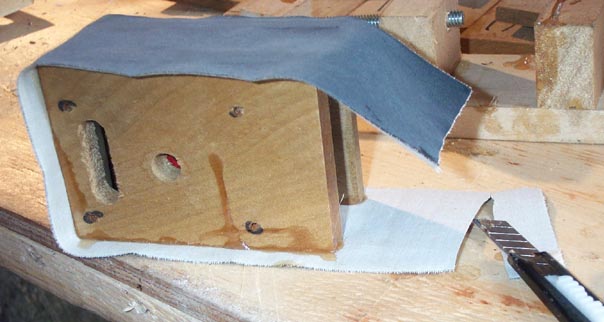
On the original cloth the rubber looked intact, but it had dimerized, and would have failed sooner or later. However, the cotton was still fairly strong, and the cloth pulled off mostly in one piece. Then it took only one stroke of a scraper to take off the high spots on the old glue layer. That is one of the beauties of hot glue; the new will merge perfectly with the old, and it is not necessary to remove most of the original glue, or cut into the wood. I have vowed to never let the belt sander touch this organ, thereby preserving the squareness and dimensions of all the old wood, for the next rebuilder in the 22nd. century. The covering proceeds in the normal manner.
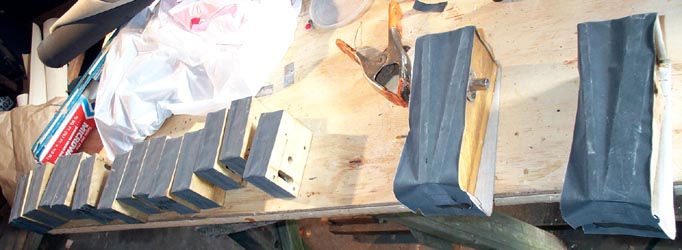
While I was at it, I recovered the big pulldowns used in the sub bass chest.
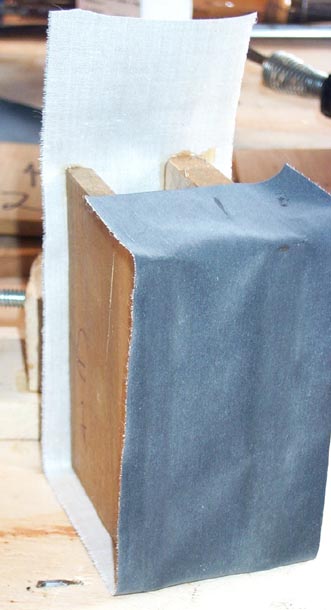
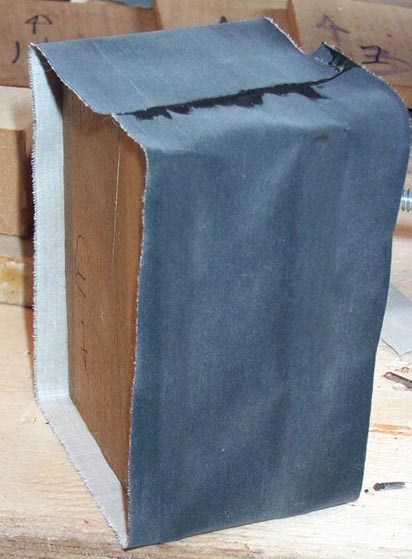
They are all set to fully dry, awaiting preliminary trimming.
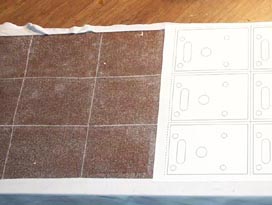
To make the pulldown gaskets, I made a template on Visio; printed it, and stuck it on the leather on the sticky board, with Spray Mount. For this gasket, I chose Leather Supply House goatskin splits, skivers from the back side of valve leather. This is just like the pouch leather skivers used by the originals for small gaskets; thin, unfinished on both sides, but very dense and elastic. It can only be used between two very flat surfaces (which I have here), but it is much better than the porous cowhide sold as "packing leather", and far cheaper too. Leaving the sticky paper in place, I punched the gasket, and glued it on. The paper keeps the very flexible leather straight and square during the gluing.
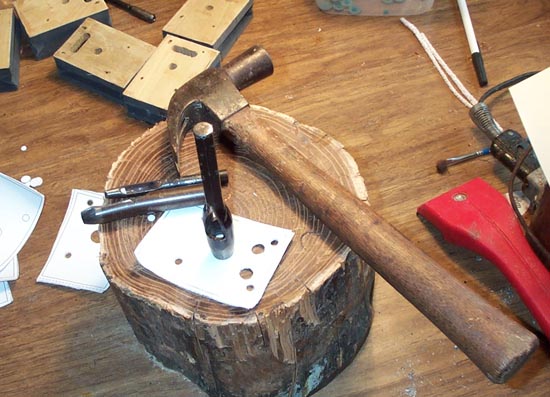
After the glue sets, peel off the paper (the gelled glue is much stronger than the tacky Spray Mount), trim the gasket. Then finish the trim of the top edge of the cloth with a fine single cut file, and shellac the outer board. This seals both the wood and the any porosity in the exposed edge of the cotton layer in the cloth.