Chapter 2.6 - Making and Installing the Winchester Vent Pallets
The vent pallets are all located on the backs of the stop chests, right at the outer edge of the open rear of the organ. Consequently they are easy to knock off (or be picked off by some curious person). There were none left when I got the instrument. Someone in the past had made a few crude replacements from little squares of plywood, but most of the vent holes were just taped over. Only a few of the pallet guide wires, and a few rusty remnants of the springs, were left. Since the organ probably leaked like a sieve during its last few years of operation, they were probably not needed. But I hope to rebuild it tightly enough that the vents will be needed to relieve the pressure in any windchest promptly when it is turned off, and thereby enable the stop action to work cleanly and precisely.
So I had to make all new ones. Having no examples to copy, I had to guess, based on the pallet design used elsewhere inside the instrument. I selected a 7/8" square valve surface, as a good fit for the 9/16" diameter vent holes.
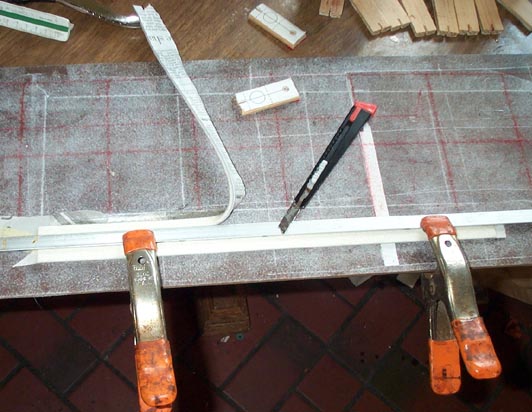
First make the pallet stick stock. I picked through the 1/4" lattice moldings in the lumberyard, till I found one that was nearly quarter sawn, so the finished pallet would stay flat. I have no joiner, so the angled edges were made with a plane. The vee shaped spring groove in the center was the hardest part. I ended up carving it with a veining chisel, and finishing it with sandpaper folded around the edge of a wooden block.
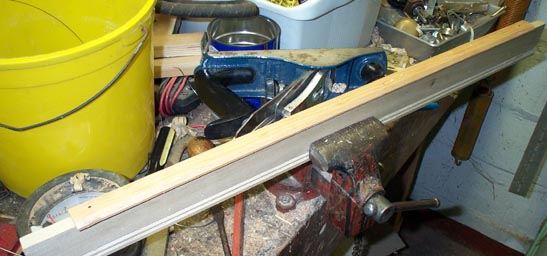
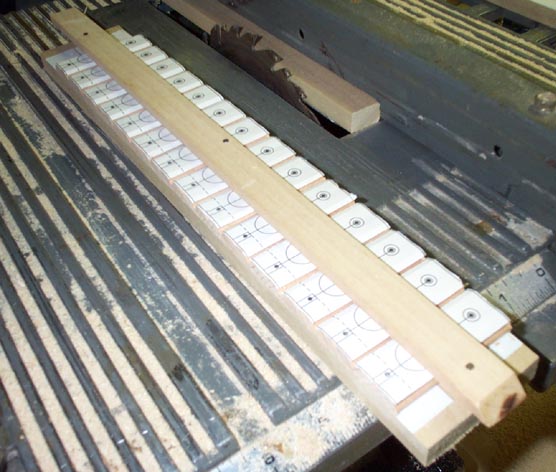
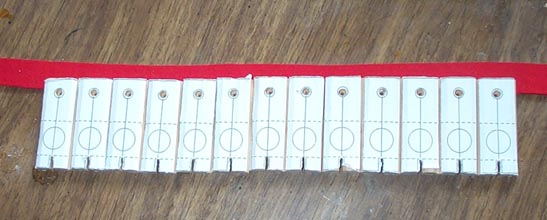
A full scale drawing of the pallet was made and tiled in Visio, and printed on adhesive backed paper. These images were pasted on the stick, and then the stick was roughly cut to length.

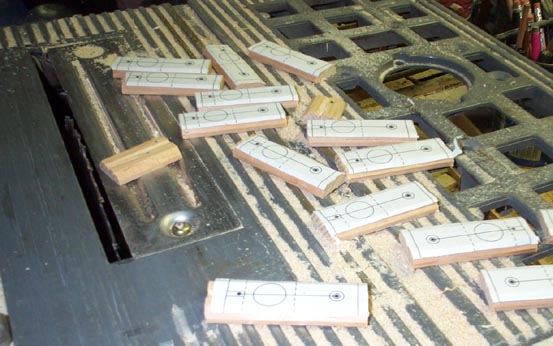
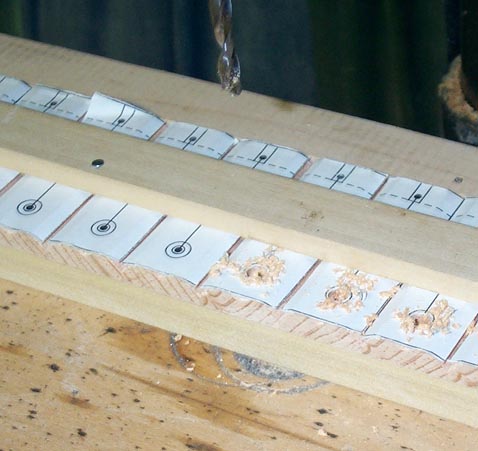
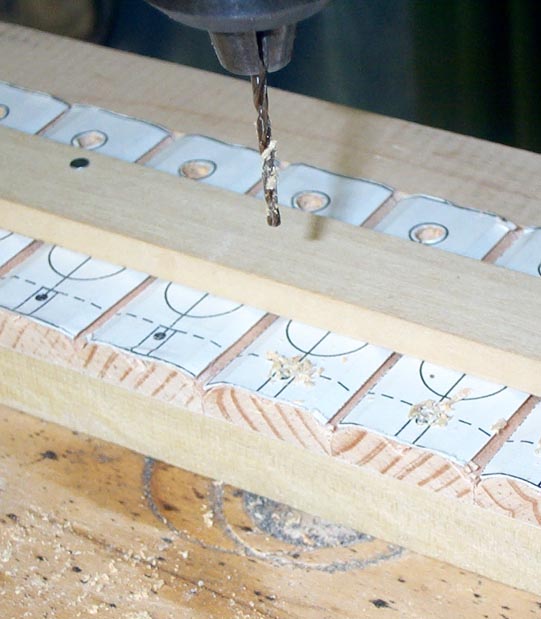
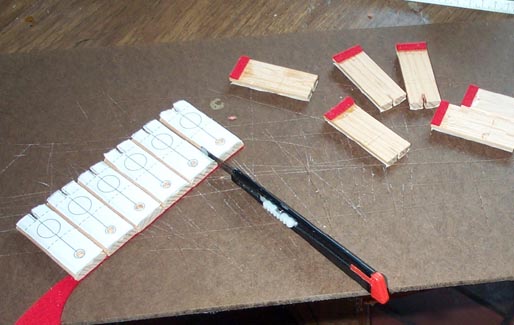
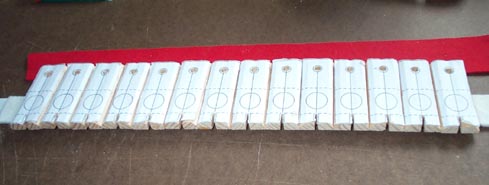
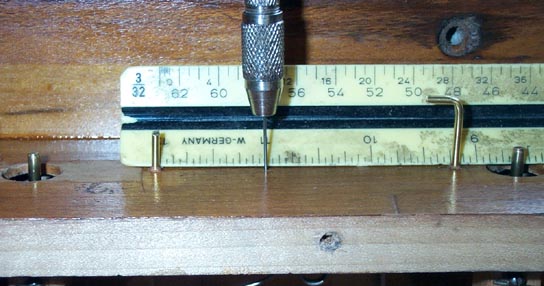
The pieces were stuck to a scrap board with double-sticky carpet tape; sawn all together to the correct length, and the ends belt-sanded smooth. Then the guide pin clearance hole, the guide hole itself, and a hole defining the inner end of the front guide pin slot were drilled
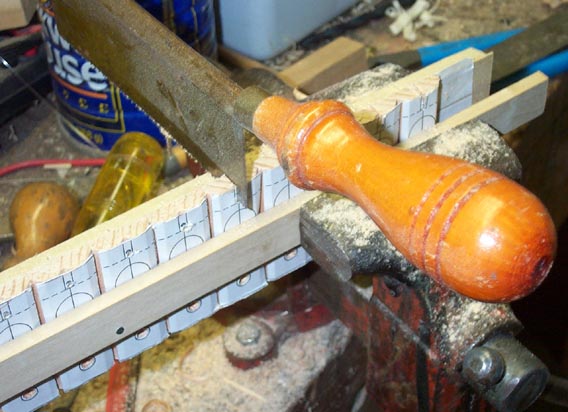
Then the back of the scrap wood was sawn off by the depth of the front pin slot; the slot was cut, and trimmed to the correct width with several layers of folded sandpaper.
There was no pallet heel rest pads of the seat surface, so they must have been on the rear of the pallet.
Make the pallet seats in the manner described before. I used Organ Supply Industries #6101.01 3/64" fine white pallet felt and Leather Supply House medium goat.
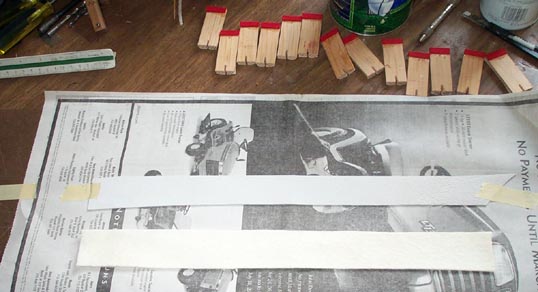
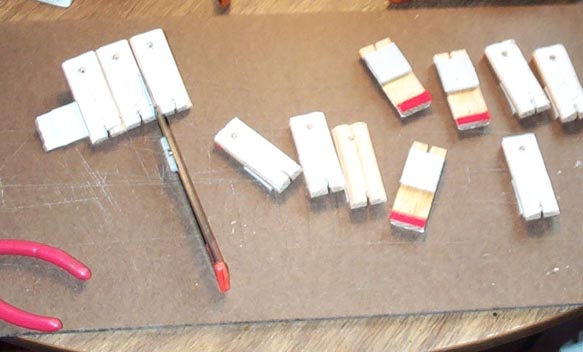
When I installed the pallets I discovered that they would not seat flat, since the spring has to push them closed from behind the center of the leather square so that the pallet always opens facing downward. So I had to add another piece of seat composite, to balance the leather-felt area under the spring pressure point.
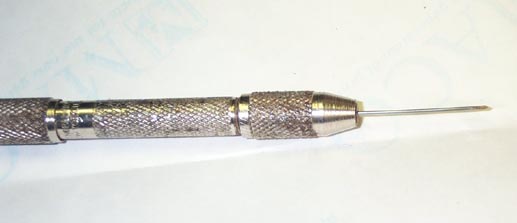
A rig to bend the new springs. I used #13 piano wire 'cause that is what I had. The old spring remnants were so rusted that I could not measure them accurately, but it looked ok. The same wire in a pin vice, with the point ground into a crude "spoon bit" will be used to drill the holes for the spring butts.
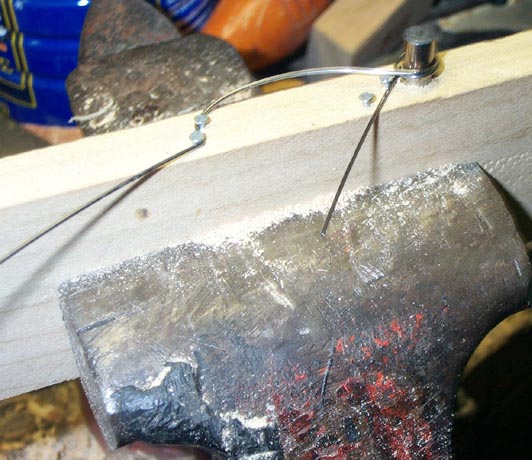
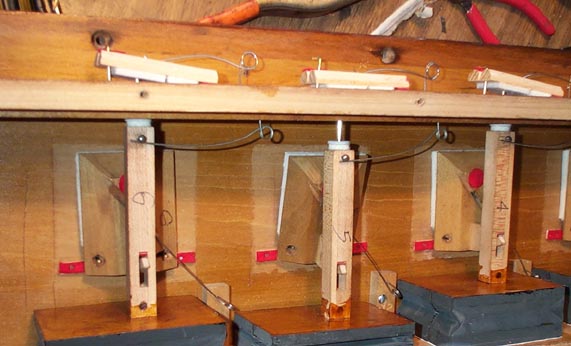
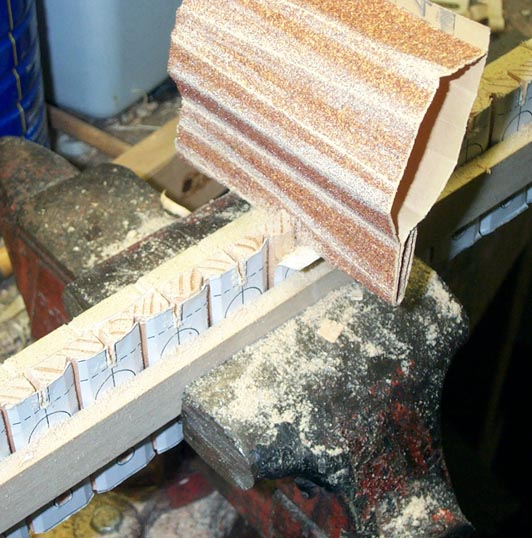
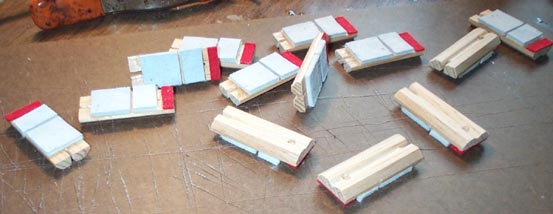
Now install them. Small brass l-hooks were used for the pallet guides, with the rear one clipped off. They have to be bent very plumb to the board, to allow easy movement of the pallet. This looks easy, but it takes a lot of precise adjustment to assure smooth action. The springs have to be bent just so, so that they press the pallet home when the stop is open, but at the same time are weak enough to be opened by the main stop action spring when the stop is closed. These pallets, unlike most of the others in the organ, close against the wind pressure, so they have to seal reliably by spring force only.
The final result. A little red felt pad was added to the pallet, so it wouldn't go "click" against the front guide hook when it popped open.