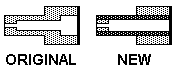
Chapter 2.8 - Assembling and Testing the Stop Action
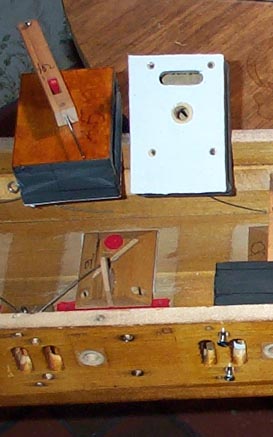
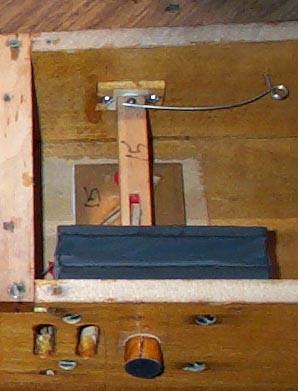
The first picture shows the pallet installed. It should move very freely, and snap closedflat when pulled back and let go. When the pulldown is fully back, the front of the pallet can click against the actuator rod. I doubt if this can happen with the low pressures involved, but, in the immortal words of Fats Waller: "One never knows, do one?". So I added a felt bumper pad.
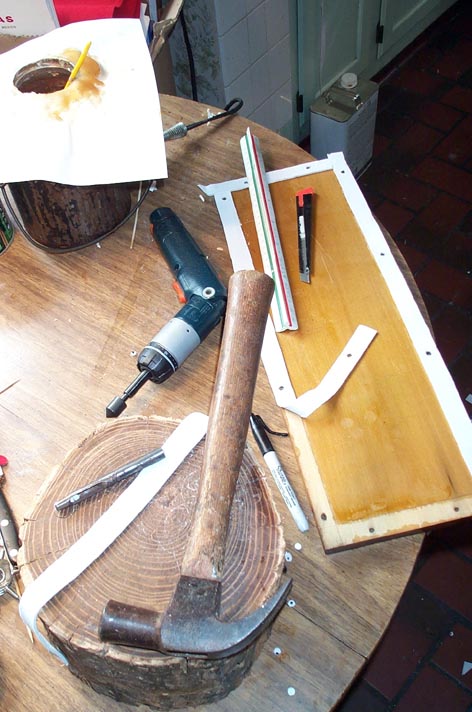
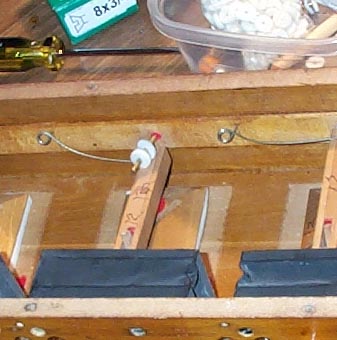
This view shows the pulldown and the actuator rod. They are connected together with a thin steel guide wire, roll-threaded on the part which connects the rod and pulldown. A prior owner had bent, broken, or cut off the tip that goes through the front guide, so I had to make several new ones. I finally found a use for some #00 allthread rod I got at a going-out-of-business sale 35 years ago. A piece of this chucked up in the drill press was rotated while being gently squeezed with the serrated tip of a long-nose pliers. This scraped off the threads on the smooth part, finished with fine emery paper.
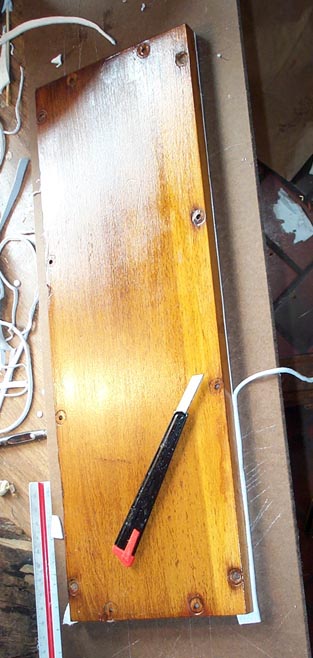
Screw on the pulldowns, working around to torque up the screws evenly. The pallet board is soft green poplar, so some of the #6 screws had stripped, and had to be redrilled for #8. A prior owner had done a lot of messing around in these chests in a vain attempt to make the organ work again. Luckily he stopped there, and never applied his tender ministrations inside any of the rank chests, where irrecoverable harm could have been done.
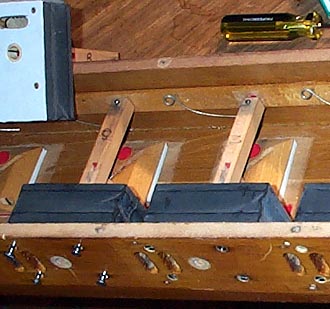
Install the 1/8" diameter rear guide rod. These had to be spun in the drill press with fine steel wool and Brasso, to remove the old grease and repolish them. The valve that seals the hole when the stop is closed (and the space behind it is vented) is a punching of valve leather with a 3/32" center hole that seals to the rod. It is backed up with a center-rail cloth punching. The rod fits snugly into a hole in the end of the actuator; adjust its depth so that about 3/16" protrudes beyond the rear of the chest when the stop is closed, to push open the vent pallet.
Adjust the assembly if needed, by selecting different
thicknesses of center-rail punchings, or by adding key leveling shims.
:
1) The pulldown should be not quite fully extended when open.
2) There should be daylight between the padded end of the slot in the
actuator, and the hooked end of the pallet lever, when at rest. That
way, the pallet rests firmly on its seat when closed, and won't leak.
3) The slot in the atuator rod should be very square with the pallet
lever tip, or there will be binding. A few drops of shellac at the
point where the actuator screws into the pulldown will keep it from turning.
The knob on the front was originally a back-knife birch turning, which served as a guide for the pulldown front wire. My old buddy had poked out the little hole in the tip to try to make things move easier ( I found the noses of two of these inside the pulldowns when I cleaned them), or just removed them altogether, cut off the end of the guide wires, and taped over the holes.
So I had to make all new ones. Cut pieces of 5/8" dowel; clamp these in a slotted board with a 5/8" dia. hole, and drill 5/16" through. Glue in a piece of 5/16" OD x 3/16" ID fiber tubing, from McMaster-Carr. Using a 3/16" punch, cut the little tip plugs from a 3/16" thick end-grain slice of wood, and glue them in. Wrap a 5/32" drill with tape to center it in the tube, and drill out the tip by hand , using a pin vice. (Easier said than done; I spoilt many pieces before I got it right.) I think the original turnings just fit tightly in the holes, but mine didn't, so I glued them in, after all the adjustments were complete and everything moved smoothly.
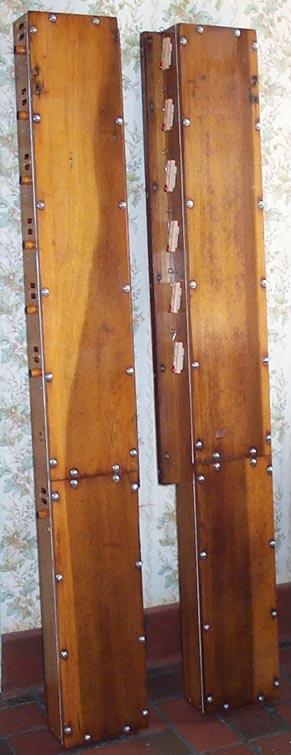
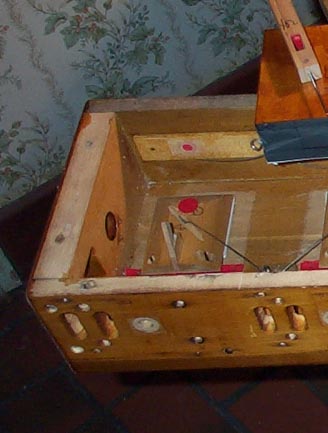
The seventh valve on the right chest, for the Vox Humana motor, is a special case. The bushing block at the rear is thicker than the others, but no leather seat is required; only the pad punching. There is no Winchester vent on this pallet. On this one, the brass guide rod is pushed all the way in, below the case back when at rest, and the hole in the case back side is covered with cloth.
Now for the test. After assembly, the only opening in the pulldown is the slot where it connects to the primary valve block. Close the pulldowns, and tape over this hole. It should take two minutes or more for the pulldowns to leak open. I found a vexing problem here. Al the systems on the left chest tested ok, but all those on the right chest opened too fast. How could that be; it seemed unlikely that all six on one side were done right, but all seven on the other had the same mistake? After several different fix attempts, I concluded that there must be something wrong with the right chest itself. I knew that the piece of wood forming the front of this chest was particularly soft; I could tell by how the screws driven into it behaved. So I tried sealing the insides of the two adjacent primary slots with Goopalac. That was it; there was end-grain leakage between each two slots, only 3/8" apart.
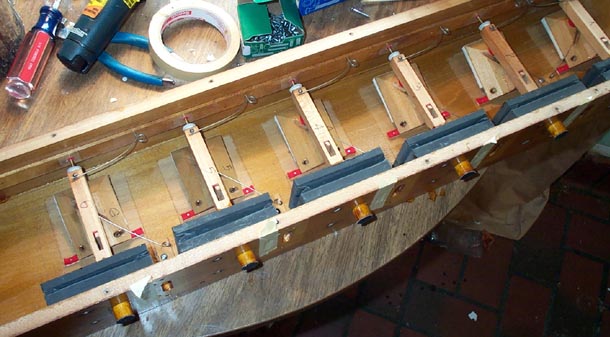
On this organ, with so many joints and such a complex pneumatic system, it would be impossible to find a small leak after the whole thing was done. One has to test each part as it is done, to make sure that every individual component is tight prior to the final assembly.
Now finish by gasketting and installing the covers. I used Leather Supply House thick, dense deerskin for these, since these lids are likely to be opened often, and plenty of "reserve squeeze" has to be allowed here. Aeolian usually drilled for the screw hole right through the unpunched gaskets. This works the first time, but a little burr is raised around the hole in the chest where the screw threads in. Whiff this off with a countersink before attaching the lid. If the surfaces are flat, and the gasket is properly fitted, the bung can be dropped down on its seat with a satisfying "thwop" sound; hard to describe but easily recognized by every rebuilder. This signifies that it has made even contact all around. Screw them down, working around the screws in an alternating pattern, like torquing up a head. But not very tightly. To paraphrase William B. White writing 75 years ago, if you have to screw down a gasketed joint very hard to eliminate leaks, you have done something wrong.