Chapter 4.7 - Recovering the Feeders
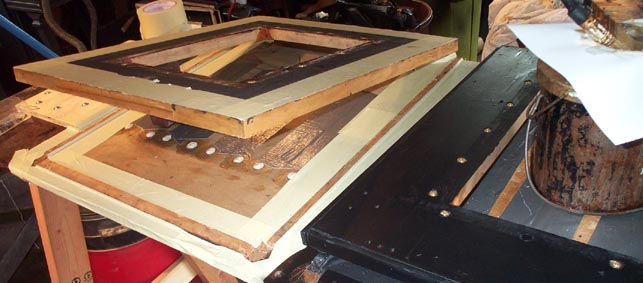
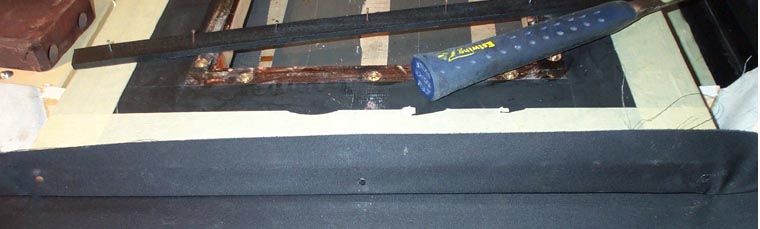
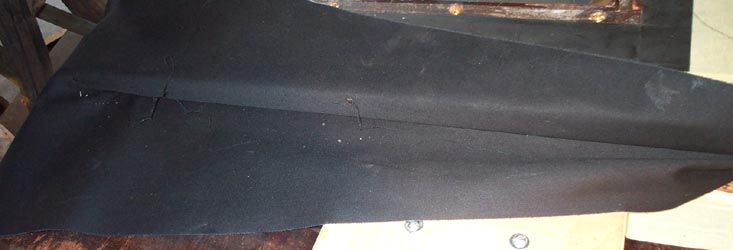
I put the assembly on top of the A-frame, horizontally, so I could get a close view of all sides of the feeders. As before, I masked everything.
Now here is where the muslin strips attached to the edges of the gussets in the last chapter come into play. They help to define the fold point where the cloth joins the bellows boards, Note that the two boards are configured differently. On the movable board, where the gluing stick is on the side of the board, the fold point is next to that board. But on the fixed board, the gluing stick is oriented horizontally, the hinge point is on the outside face of the cloth, with the gusset positioned below the plane of the fold, in a "well" created by the elevated strips permanently attached to the board. If the fold was as on the movable board, the edge of the gusset would hit the gluing stick when the bellows were opened.
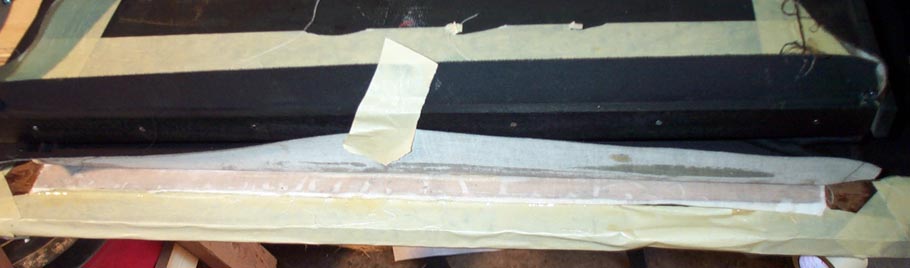
Insert the cloth assembly, and line it up. Attach it first to the movable board, on all three sides. One has to do this first. to be able to pull it tight around the corners. On the fixed board side, being surface mounted, this doesn't matter.
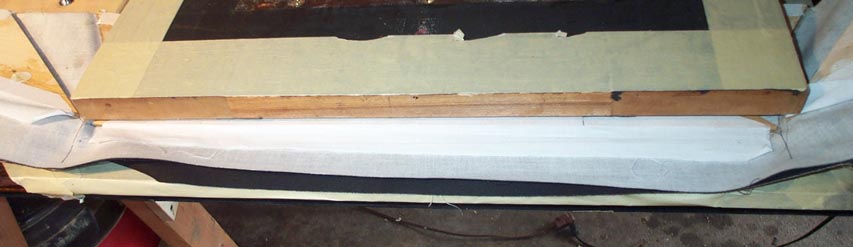
Pull out the muslin strips; apply glue to the strip and the edge of the board, and attach the muslin. Pull it tight, so the edge of the gusset is snug against the edge of the board.
While this is setting, prepare the gluing stick by starting the nails into it. Then apply a heavy run of glue to the cloth and the already attached muslin, and pull up the cloth, and hold it temporarily with tacks; pull the cloth up really hard.
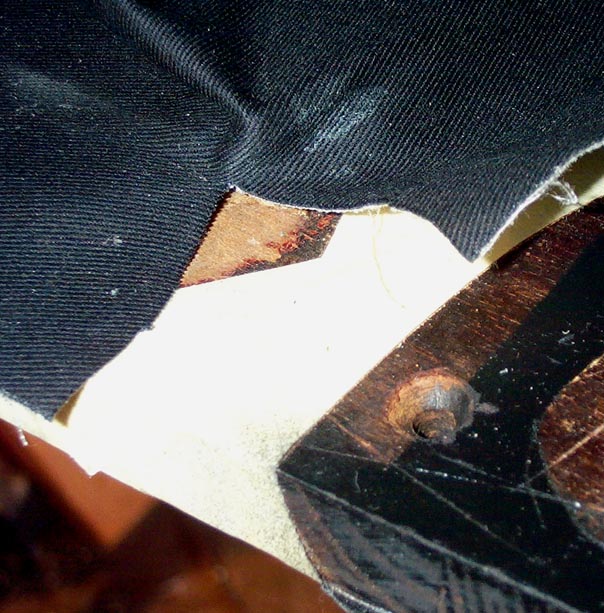
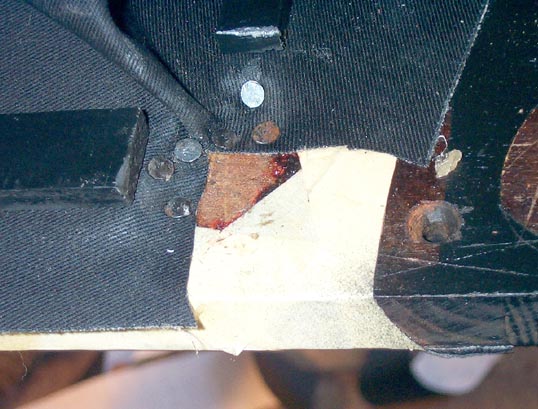
The "well" on the fixed board is made up of three narrow sticks glued and nailed to the board. But they do not meet at the corners, at the open end of the bellows. They are cut back and tapered at 45 deg., leaving a space on the "floor" of the fixed board where the corner of the cloth will be attached later. In order to fold the sides of the cloth assembly around the side of the bellows, the part of the cloth that will lie flat against the fixed board has to be cut so that the lap will flare around the corner. Find a point below where the corner of the cloth will be, and start a cut downward towards the lower edge of the cloth. But (this is important!) there is room inside the space between the ends of the fixed sticks, for the cloth to go down as an uncut corner, before it has to flare out. So start the downward cut at lease 1/2" below the gusset line. Close the bellows, and if necessary, just barely nick the top of the cut to make it a bit higher, until the uncut part of the corner just touches the floor of the bellows, in the low space between the ends of the fixed sticks. The cut should not extend upwards into the part of the cloth that forms the movable part of the bellows.
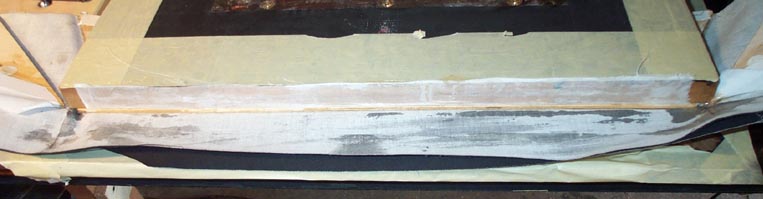
Now attach the cloth to the sides of the moving board the same way as the end. In player work, one always stretches the cloth along a line parallel to the edges of the boards. But in this case, the cloth is stretched towards the hinge end and also inwards, along the top of the board. The firmly attached gussets keep the cloth from being pulled crooked by doing this, and in fact it has to be stretched thus. This makes sure that the upper fold line is pulled snugly against the movable board. Hold the stretched cloth in place, and immediately nail on the sticks.
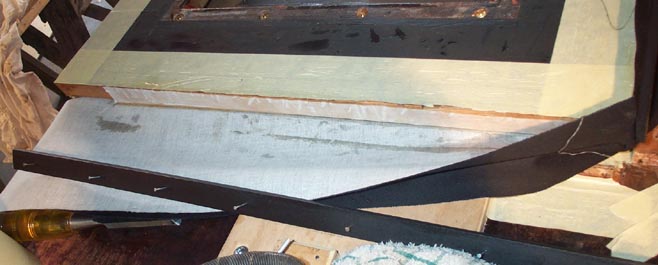
After all three sides of the cloth are glued to the movable board, then begin to attach the bottom edges, starting with the front. This proceeds differently. In the case of the bottom edges, the muslin is glued and pulled tight so as to pull the gusset outwards till it hits the inside of the fixed sticks, but remains inside the "well", below the upper surface of the fixed sticks. Sometimes the cloth is stubborn, and the gusset will want to stay on top of the fixed sticks, and not snap into the well. If this happens, opening the bellows will relieve the pressure on the gusset, and it will be able to be pushed right down.
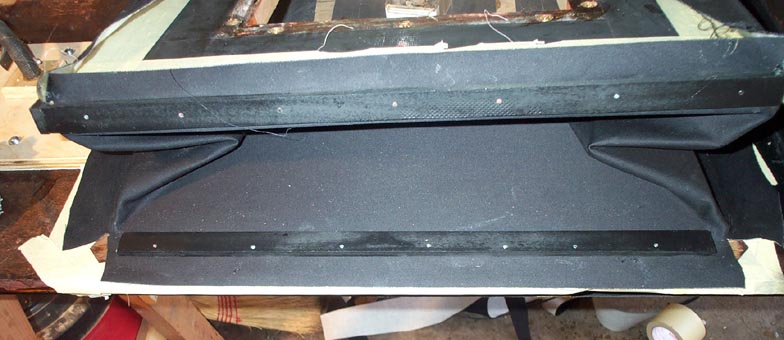
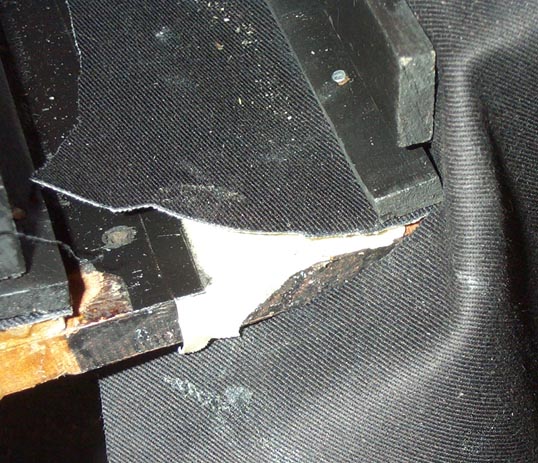
First on the end, then on the sides. Note that the gluing sticks are only as long as the flat tops of the fixed sticks. They do not cover the joint all the way to the corners. In fact, the bottom side gluing sticks should placed so that the hinge ends of the sticks are even with the hinge line.

Now for another tricky bit. The corners of the cloth, where they were notched, are attached to the "floor" of the fixed board. Aeolian, normally stingy with tacks, used six for each corner. Two at an angle, in the center of the 45 deg. ramp on the ends of the fixed sticks. Two more as close to the end of the notch as possible. The cloth around the end of the cut will stretch enough that these tacks will seal the cloth around the end of the cut, leaving no leak. That's why one should make the corner cuts as far away from the turning point as possible. The last two tacks secure the outer corners of the notch.
For the hinge end, cut off some of the surplus cloth to make maneuvering easier. Cut the cloth parallel to the hinge line as shown. Cut the lap to length; stretch, glue and tack the corner; and glue and tack the rest of the lap.
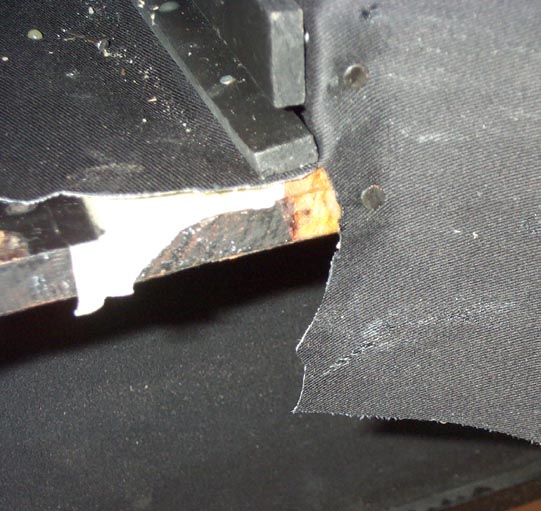
There is a potential leaker where the lap is cut to go around the corner. Aeolian did nothing with this, assuming that excess glue would fill in this never-flexing point, but just in case... I took a small pouch and stretched the edges to make a "540 degree" circle out of it. It was folded in half, and one corner was pushed down into the gap with the back of a knife. When this set, the remainder of the pouch was stretched over the hinge face. Then the hinge line cover strip was glued on, as shown in the reservoir pictures.
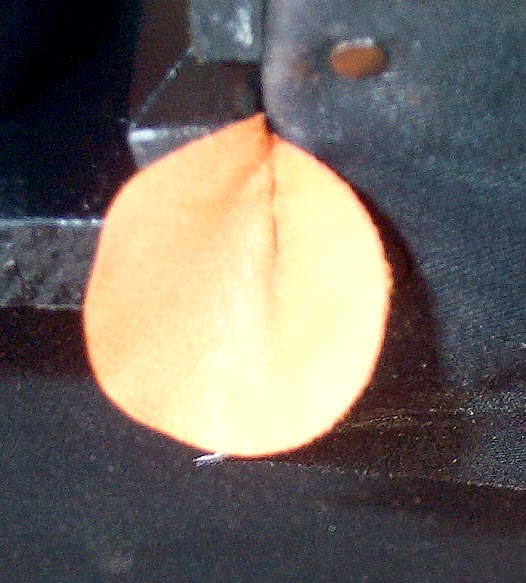
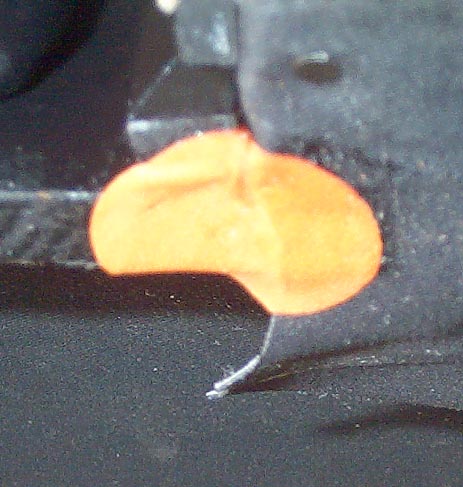
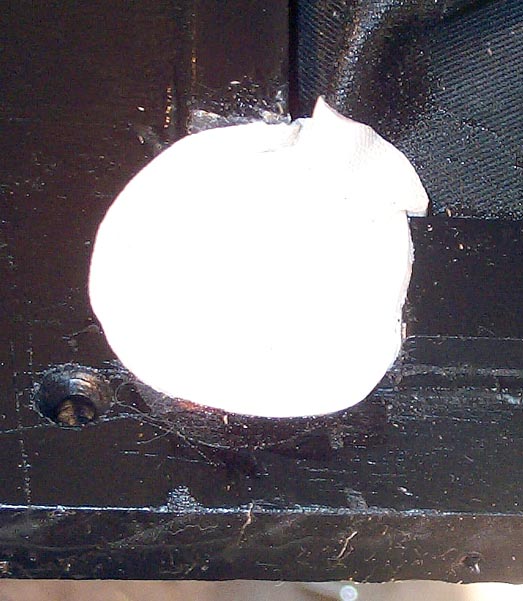
After the glue was well set, everything was trimmed. The cloth, and the circle shown below, was masked, and the entire feeder side of the bellows assembly was spray painted. Finally, replicating what Aeolian did, I put a seal patch over the "corner cut and tacks" arrangement at the two lower front corners, as extra insurance against a point leak at this continually flexing point. I used a circle of Cambretta, with the edges stretched into a "450 degree circle", making sure it was well tucked into the gaps between the sticks and the cloth, and touched either wood or cloth all around its rim.
This whole procedure sounds woefully complicated, but it is actually quite clever and foolproof, once one gets the hang of it. With the pre attached gussets defining the correct position of the cloth, and the muslin strips to help pull the cloth into the correct position, it moves very fast. Gluing is easy; just slop it on, in the gaps between the layers of wood, muslin or cloth. None ever gets inside the bellows. The first one took me five hours, as I puzzled out each step. The second took less than an hour, and a worker at Aeolian could probably do the whole thing in less than ten minutes.