Chapter 12.2 - Regulating the Keyboard
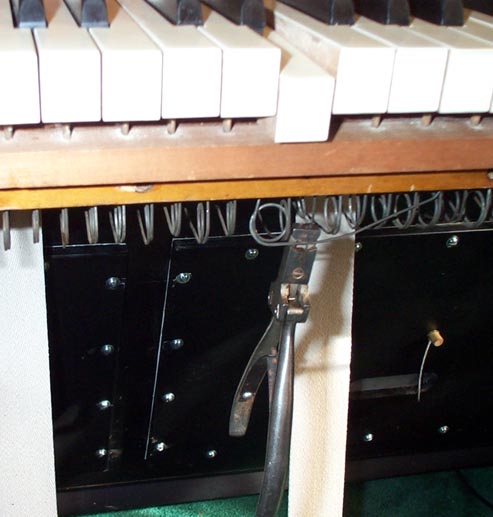
After the pallet sticks are inserted into their holes in the keybed, and the assembled keyboard is installed on the keybed, the regulation proceeds in the usual manner. But first, many of the key springs were found to be weak; some of them would not even hold the keys all the way up. Each spring was bent so as to give a good feel to the key movement. Once I got close, the backcheck bending tool was handy, to either increase or decrease the bend in the spring. The picture shows the spring swung out for photographing, but in practice, the tool is hitched onto the spring in its usual position under the bed. Only a little squeeze in either direction made a surprising change in the touch. Then it was "get out and get under", to make sure all the springs were fully pushed into the keybed front rail, lined up, and bent with their looped ends parallel to the grooves in the lever ends. If the curved spring end does not travel right down the middle of its groove, there is a squeak or clicking noise where the spring curve touches the upper sides of the spring groove.
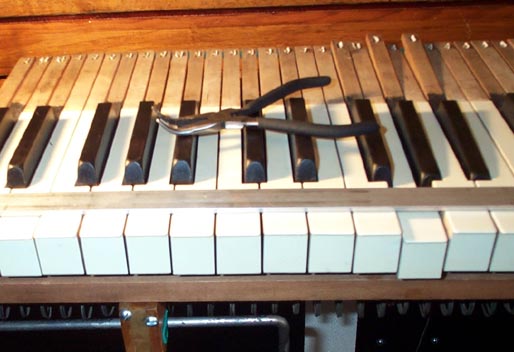
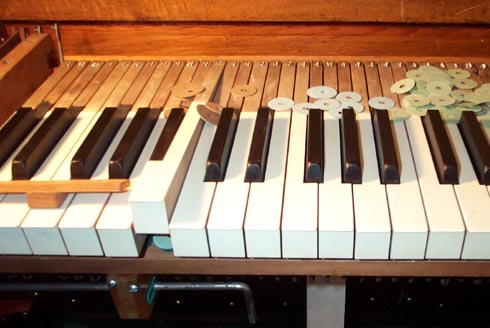
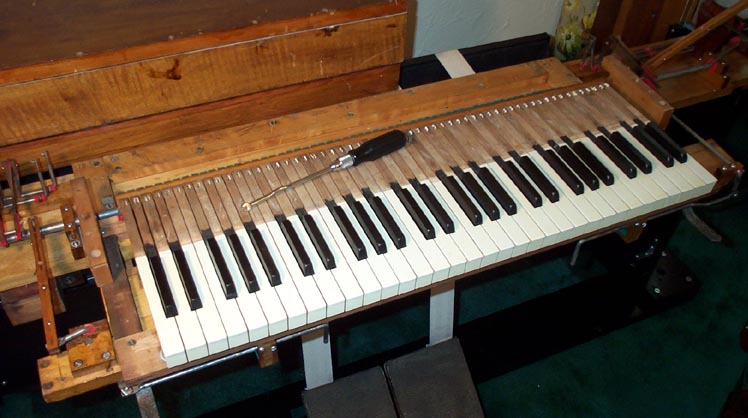
Step 2: the key surfaces are all leveled, using the curved pliers to bend the rear guide pins as required. (Analogous to bashing the centerpins in a piano left or right with a screwdriver.) I used a straightedge on the key tops, checking that there was no crack of light at either side of the key, and the surface was perfectly flat. The vertical sides of the keyfront can not be reliably used as a guide here. Celluloid covered keys tend to be very, very slightly wider at the bottom than at the top, perhaps because the celluloid prevents as much moisture being absorbed by the wooden core at the top than at the bottom. This is not noticeable, but the sides of the white keys are really not perfectly vertical.
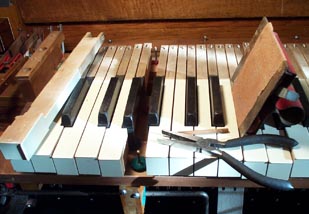
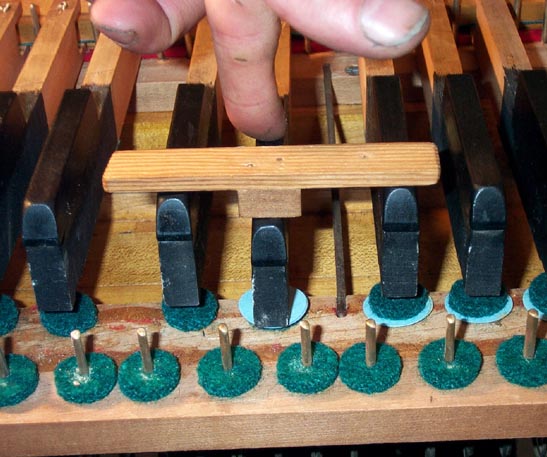
Step 3: The keys are leveled. On an existing reed organ keyboard, this is very tedious work. First the noticeably high ones are lowered by plucking out the pallet stick and sanding the end. Then the low ones are corrected by gluing a tiny punching of card or tissue to the end of the stick. The original builders had the advantage here. I think that they must have had a wooden board with holes matching the stick centers. This was put over the pallet sticks, and a sharp plane was run across. After a few strokes, all the stick tops ended up on exactly the same level. This must be why reed organ pallet sticks are made out of aromatic cedar, a wood not used anywhere else in musical instruments. It planes easily on the end grain without splitting.
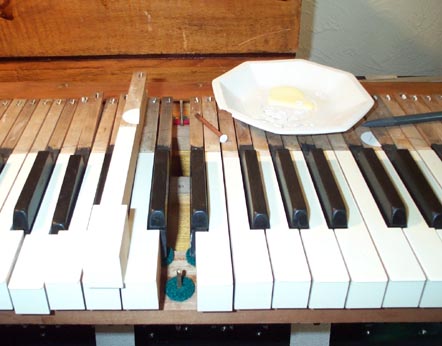
Step 4: The key dip is established, first on the sharps, then on the white keys, by adding paper punchings of various thicknesses, made for this purpose. Then the keys are separated and the shim packs are turned over, leaving the cloth on the top. My dipper is 3/8"; if this is wrong for organs, e-mail me.
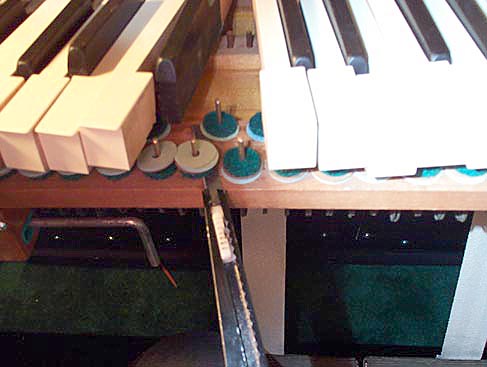
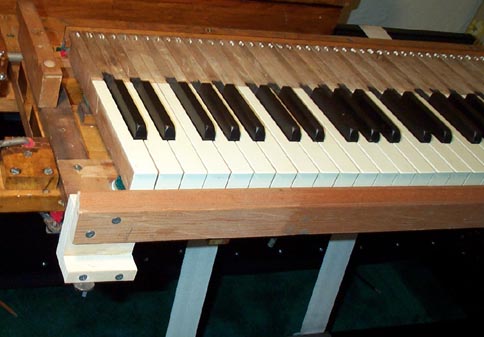
Step 5: The keys are evenly spaced using the key spacing tool to bend the front rail pins left or right as required. First all the white keys are spaced; then reach in deeper and space the sharps so that they are in the middle of their gaps. During this procedure, run a glissando up and down the keyboard, so that the keys pop up into their "natural" positions.
Finally a temporary keyslip is made out of a scrap of molding, until the case is installed. This will keep some yobbo (probably me) from walking by and snagging a key and breaking it or bending a pin by accident.