Chapter 21.2 Gluing the Pouches
Now for the hard part, putting the ranks with the pallets and pouch boards all together, to make speaking stops. The first step is to glue the pouches, prepared in Chapter 19.5, onto the pouch boards that form the rear of the individual chests.
Unfortunately, a computer failure resulted in the loss of pictures of gluing the first, lower layer of pouches below the step-cups. However, the technique is essentially the same for both layers. After the lower layer is finished and tested, the cups are screwed on with 1-1/4" No. 4 screws. The screw holes are not exactly alike on many cups, so it is important to number the cups at disassembly, and put the back in the same order. Also, cup no. 21 is unique, having the holes for attaching the rank dividing plate holder.
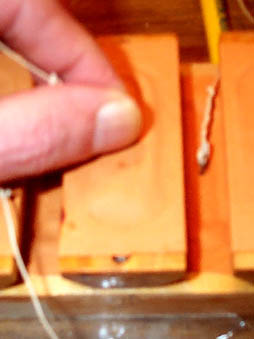
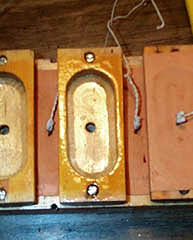
Spread a thin but wet layer of hot glue all around the edge of the well. Lay down the pouch, already prepared with the follower and the wire. The only guidance for getting the pouch and its follower centered on the well is to place the pouch edges centered vertically between the bottom and top of the cup block, and to lap the edges of the leather equally over the sides of the cup. Now the method of centering the pouch follower in the accurately cut pouch using a wooden die, pays off.
Carefully rub down the leather onto the glued surface. After gluing on the next pouch (leaving enough time for the glue to begin to gel), go back and dish the pouch by pushing the follower down to the bottom of the well. If any of the edges get unstuck, rub them back down. This seem to be a rather shallow looking dish, but it was the way the originals were done, and is plenty. Aeolian was clever with the cup dimensions here, providing a means to easily dish the pouches, and assuring the each one would have the same depth.
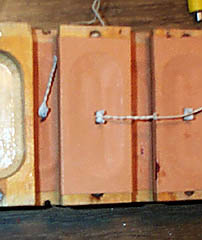
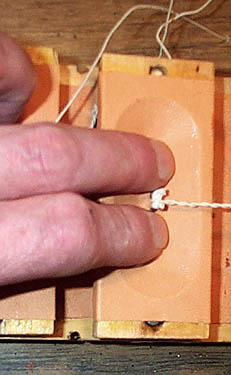
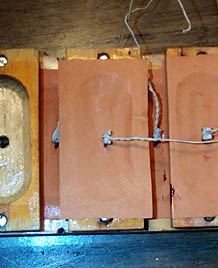
Now attach two more pouches, and go back. By this time, the glue should be fully gelled, and have a firm grip on the leather. Grab the wire staples and pull up very firmly. This will break loose any place where the pouch might have become adhered to the side walls of the cup. The oblong outline if the well edge, where the stretched leather folds upwards, should be very clearly defined, all around. If any place where the leather should be stuck to the surface of the cup has come loose, that will show up clearly in this step. If that happens, just peel back the pouch at that point; apply a bit more glue with the fingertip, and redo the above steps. That won't happen very often, once one gets the hang of using the correct amount and consistency of glue in the first place.