Chapter 21.4 Chest Assembly
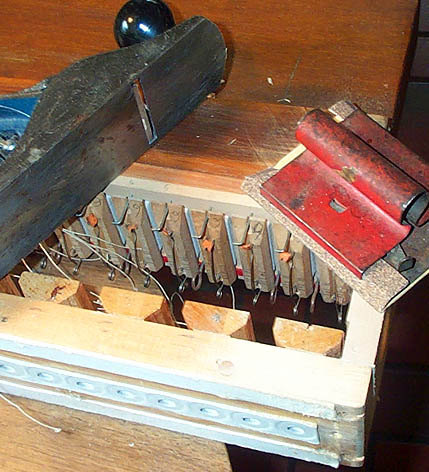
It is now the time to assemble the rank chests, by attaching the rear board containing the pouches, to the front part containing the reeds and valve pallets. Before the two pieces are screwed together, the little wooden strip containing the rank devider plate guide, is glued and nailed to the right edge of pouch cup no. 21. To avoid splitting the thin edge of the cup, the existing nail holes are reused.
The two pieces are attached with four 1-1/2" no. 10 screws, through the gasketed end blocks. All the pouchboards look alike, but the lid screwholes are not the same on all ranks, so one must match up the numbered pouchboards with their associated valve boards. The end blocks are made of maple, which is shrinks less than the sugar pine used for the pouch and valve boards. So the end blocks must be planed or sanded down so their tops are perfectly level with the edges of the main boards. At this time, a small countersink is drilled around the chest lid screwholes. The objective here is to make a perfectly flat surface where the chest lids will ultimately be screwed on. The blotting paper gaskets on the lids do not have much compliance to absorb any irregularities on these surfaces, and one wants these joints to be leak tight as any other.
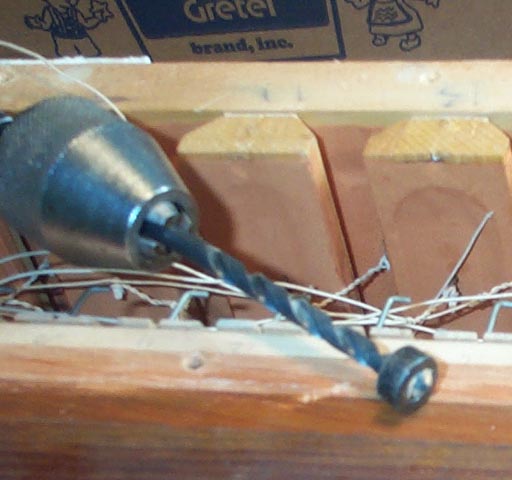
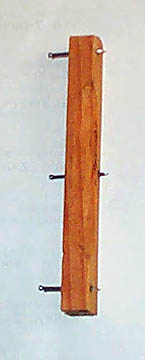
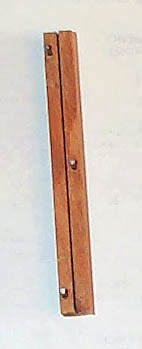
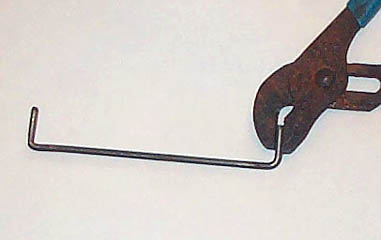
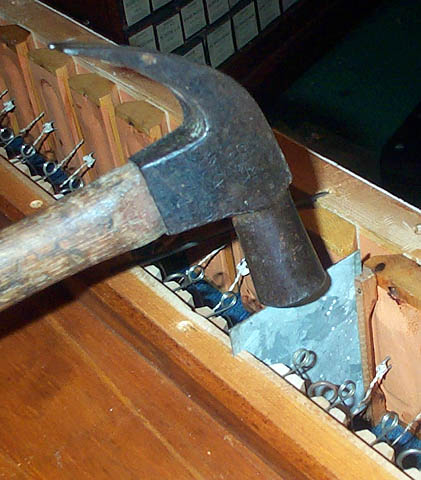
On two places on both sides of each assembly, there were heavy iron wire staples that connect the front and back halves. One might suppose that these spacers were redundant, since the screwed on lids surely hold the chest firmly together. But I think these staples served an important purpose. The distance between the pouch followers and the pallets is very critical, so that the link wires do not end up too short. and cause the pallets to simmer. The collective tension of all the link wires being twisted up during subsequent assembly may tend to deflect the thin pouchboard inwards a little bit. Adding the staples holds the gap between the pouches and the pallets to a very rigidly fixed distance. So the old staples were bent back straight (some of them were bent crooked by dirving them out at takedown), and hammered back into their grooved holes.
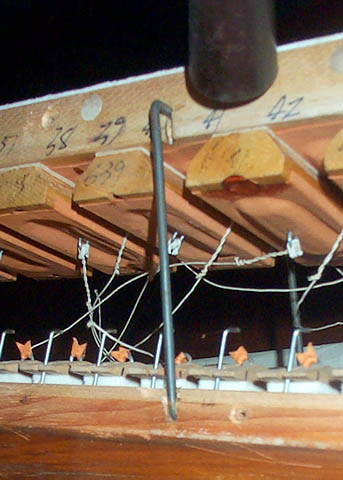
To complete the picture of the chest assembly, skip aheat to the next chapter and hook up the link wires, and come back to install the rank devider plate, between notes 21 and 22. This rectangular piece of organ zinc fits tightly into two grooves, one between the pallets on the valve board, and the other in the guide strip discussed above. It is carefully hammered down into the grooves.
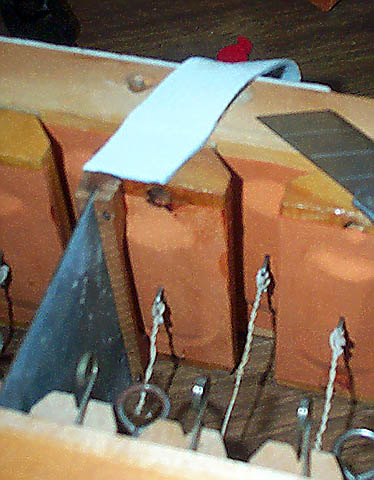
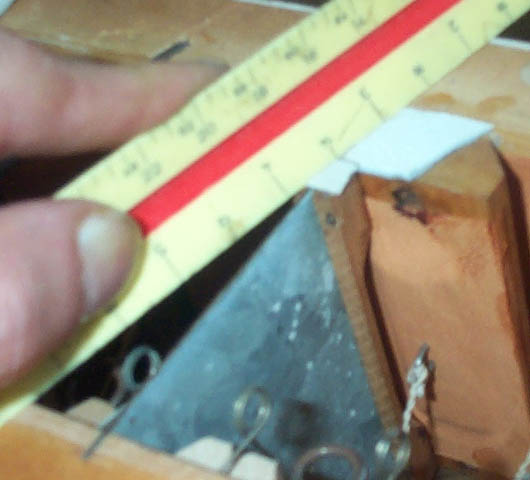
The top and bottom of the entire divider must be perfectly level with the edges of the boards, so that it evenly contacts the crosswise piece of gasket in the center of the rank lids. The cup block and the guide strip are slightly shorter than the width of the pouch board, so bits of leather of various thicknesses are glued on to build up this surface where needed.