Chapter 14.1 - The Stopboard, Introduction and Rebuilding
The stops all operate pneumatically actuated valves or pallets, so each stop rod is fitted with a rocking pallet which opens a tube when the stop is pulled. A stiff spring rides in a groove in the top of the pallet, and tilts it forward or back, as the loop in the spring is ahead of, or behind the rocking point. Five of the stops; the Aeolian Harps, the Violin and Viola, and the Manual to Pneumatic (which also puts the transmission into reroll), also operate mechanical things, and have Estey type toggles to rotate rollers in their linkages. The stop rods are held upright by staple shaped guide wires, running in a groove in the rear board.
The plywood board that forms the base of the whole stop assembly was found to be severely warped and partly delaminated. It stuck out beyond the swell chest top board, and so probably got wet from a leaky roof while the organ was in storage. I also decided to make a new vertical front board, to match the new part of the shelf that shows in the front.
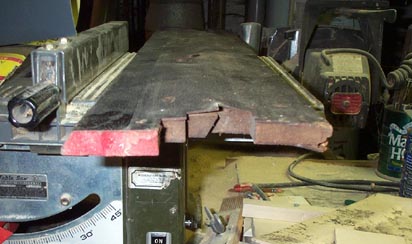
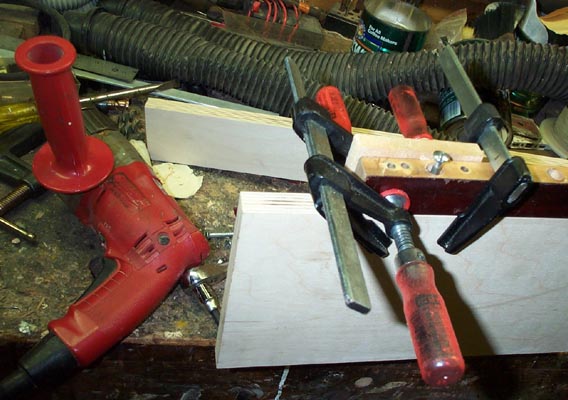
New 11/16" Finnish birch plywood was cut to the required widths. A bit of ogee molding, cut from some "Morgan Pattern" chair rail that I had, was glued to the front edge. to replicate the old edge treatment. The showing surfaces were sealed with wood filler, and scraped smooth. The rear edge of the base panel was a separate piece of hardwood, which I broke off and attached to the back edge of the new base with long #12 screws. Clamps keep the upper surfaces at the joint even, so the stop pallet will rock smoothly across it. Later I discovered that the old shellac finish on this valve strip was so crazed that the pallets would not seal to the surface, so I had to take it off and strip it with Cutzit.
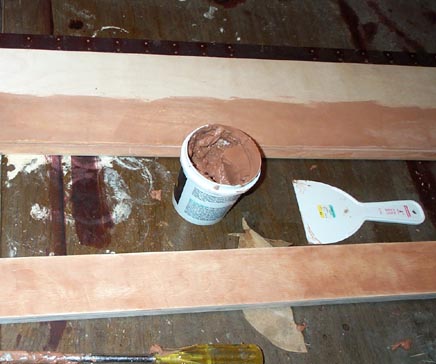
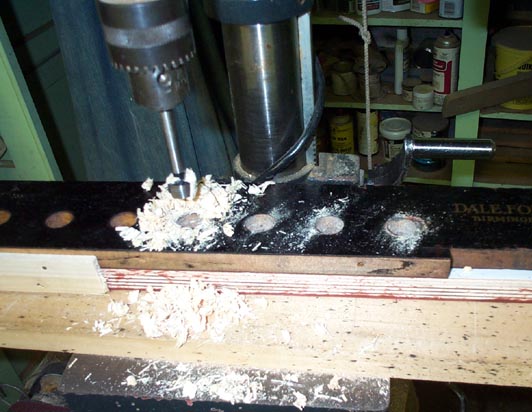
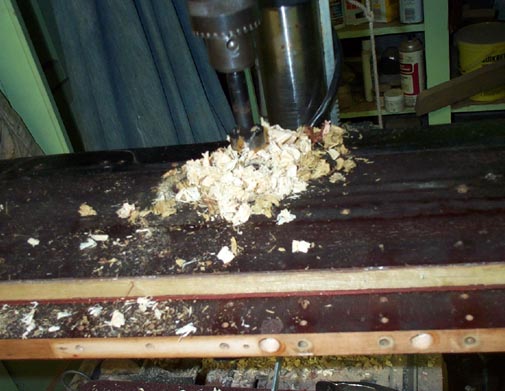
Using the old boards as templates, nailed onto the new pieces, all the holes and screw pilot holes were drilled in the new wood. Luckily Ken and Cindy Greenlee's "Woodcrafters Supply" had an 11/16" Forstner bit for the stop rod holes, a hard thing to find. They are good people, and have furnished many things that I have used in this project; I recommend them. The parts of the new pieces that do not show were stained with Behlan's "Brown Mahogany" spirit stain and shellacked. Then the cuts and shapes on the ends of the new pieces were made, to match the old ones.
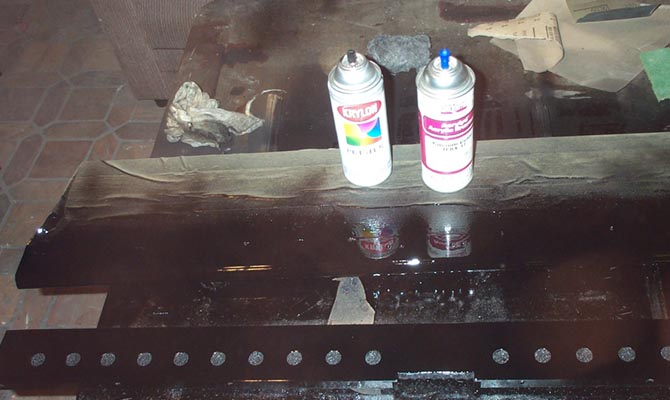
The black finished surfaces were masked off, and sprayed with several coats of sandable primer; smoothed between coats with a green Scotchbrite pad. Then three coats of Sherwin-Williams #F10B1738 Custom Color "Acrylyd" acrylic enamel automobile finish were applied. This is not put up in spray cans as a stock item, but if you go to a Sherwin-Williams retail store, and buy a case of at least 12 cans, they will order it for you. This stuff really works, and dries in a reasonable time (not like the shiny black spray can paints sold in retail stores). I have used it for years for the shiny black parts of player pianos and organs. Between coats the finished is rubbed down with green Scotchbrite. Much better than steel wool because it takes down any high spots or mars evenly without rubbing through, and doesn't leave metal chips imbedded in the paint. The most important tool for this work is the tack rag, shown in the upper right corner, to carefully wipe down the previous coat just before spraying. Marks or dots in the paint don't come from dust settling on the sprayed surface, but rather from dust or tiny, invisible chips left on the surface being sprayed.
After the top coat has dried (it takes several days for it to get really hard), the surfaces are rubbed long wise with polishing compound. The originals were not dead shiny, like on many American reed organs, but rather "hand rubbed" black shellac. Then several coats of hard Minwax were applied, mostly to protect the new finish from finger marks and any stray bits of glue that might get on them during subsequent work.
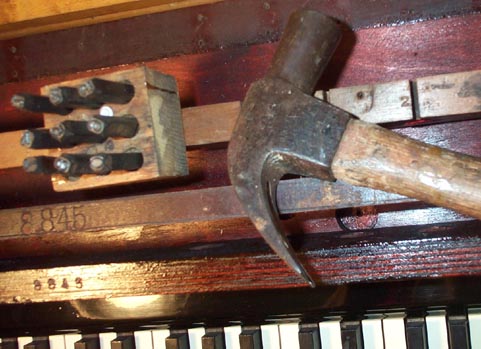
The original serial number. 8845, was stamped on the top edge of the old front stop board, so these numbers were stamped on the same place on the new board after assembly. According to Kevin McElhone, this number indicates a date of around 1914 for the instrument